The idea of installing solar panels on a motor home is a scary and thought-provoking nightmare for many. The general belief is that you need to be very articulate in automotive electronics to properly fit your solar energy system.
With some zeal, research, and a dose of confidence, you can design your working solar system. This guide seeks to guide you on this seemly daunting exercise as we undertake a step-by-step installation of flexible solar panels.
To be able to install your solar panels on your van, check out the video right here. But if you more help and some hand-holding, I have put together a step-by-step written version of the installation.
By the end of his article, you will be able to install your panels or have an idea of how you can tackle the installation of solar panels right in your van!

Getting Started with RV Solar
It is imperative to have a general understanding of how solar panels work in a motor-van. You will need to understand the various types of solar panels, batteries, inverters, etc. You should also be able to understand and choose the most appropriate solar mounting method. It is highly advisable to read your solar equipment manuals before setting out to install the solar panels.
The information should serve as a reference when installing your flexible solar panels, and refer to specific product manuals for detailed instructions.
Understanding the basic setup of an RV solar system
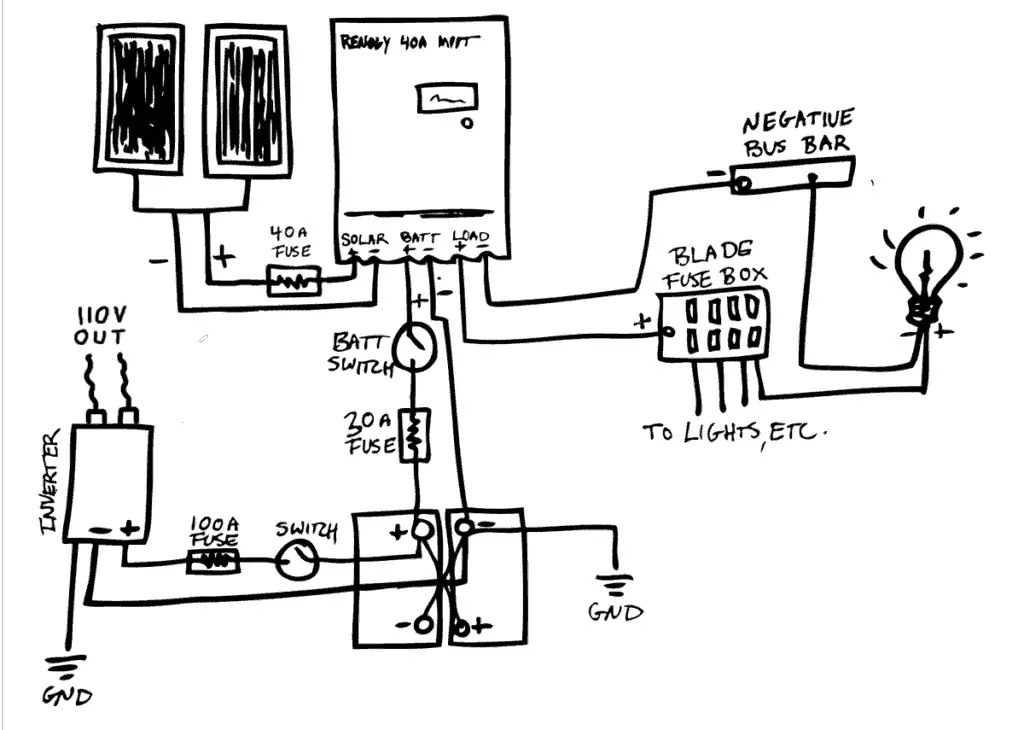
By now, you would have devised your game-plan on how the installation would layout. You must get your wiring diagram ready, size your solar system, choose the right panel kit to work for you, and choose your batteries according to your estimated power consumption.
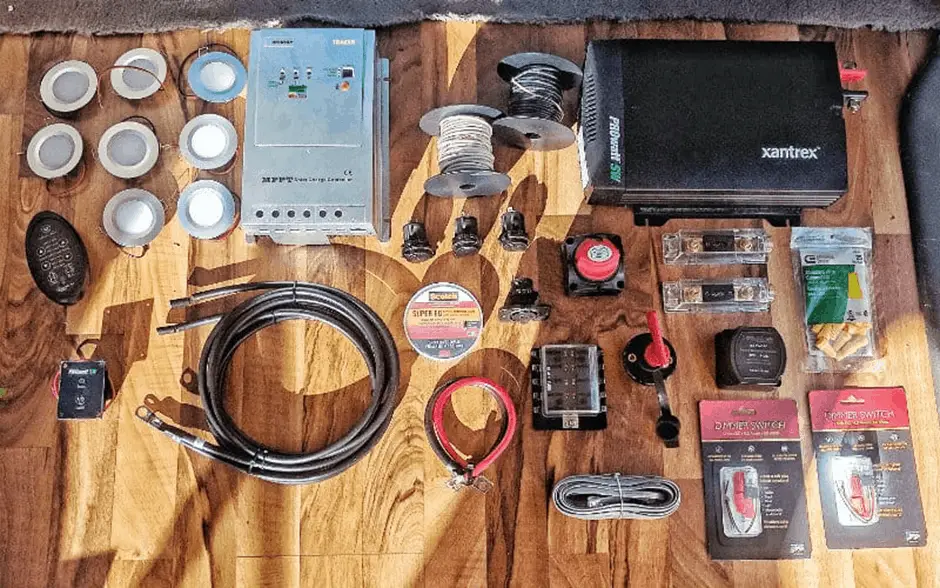
Materials needed
- 3M VHB double-sided tape 1″ width (check our best adhesives guide here)
- MC-4 Multibranch Connector pair (To wire the panels in parallel with a PWM charge controller. Do not buy this if you have your panels connected in series.)
- Right angle cable gland 3/8″
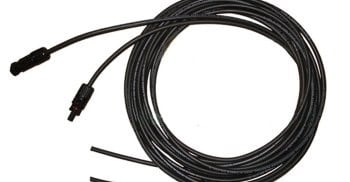
- 15′ Extension Cable Pair with MC-4 Connectors 8AWG
- Isopropyl alcohol
- 3mm aluminum composite sandwich
- layer of polyethylene
- 3M Hi-Strength 90 Spray Adhesive
- 30A MC4 Inline Fuse Holder & Fuse
- Renogy 30A ANL Fuse Holder with Fuse
- Blue Sea Systems Blade Fuse Box with Negative Bus
- 12V Lighter Socket Outlet
- 18 AWG Red/Black Strand Wire (40ft)
- Wiring (Red & Black) with Ring Terminals
- 16-14 Ring Terminals (100-pack)
- 16-14 Female Quick Disconnects (100-pack)
- Heat Shrink Butt Connectors Kit
- Battery Cable (2 & 4 AWG, various lengths)
- Rubber grommet kit
- Primer
- Solar Battery
Tools
- Cordless Drill
- Caulking gun
- File
- sandpaper
- Insulation tape
- Ratcheting Wire Crimping Tool
- Electrician’s Multi-tool
- Heat gun
Attaching Flexible Solar Panels – Step by Step Guide
Installing flexible solar panels without drilling holes, we apply a thin layer of clear all-purpose silicone on the bottom of each panel for added strength and security.
You can opt for this method instead of using a strong adhesive, to be able to remove the panels in the future for maintenance or other reasons if needed.
Here’s a quick overview of the different steps to attach your flexible solar panels:
- Determine the location of the solar panels on the roof of your RV. Look for a flat and unobstructed area that receives maximum sunlight throughout the day.
- Clean the area thoroughly to remove any dirt, debris, or grime that might interfere with the adhesion of the solar panels.
- Measure the dimensions of the solar panels and mark the location of the mounting points on the roof of your RV using a pencil or marker.
- Apply a layer of adhesive sealant to the marked areas on the roof of your RV. This will help create a strong and waterproof bond between the solar panels and the roof.
- Carefully place the solar panels on the marked areas and press them down firmly to ensure good adhesion.
- Secure the solar panels in place using mounting brackets or screws. Make sure the brackets are firmly attached to the roof and the solar panels.
- Connect the solar panels to the charge controller using the provided cables. Make sure the cables are properly connected to the positive and negative terminals of the solar panels and the charge controller.
- Connect the charge controller to the battery bank using the provided cables.
- Test the system to make sure it is functioning properly. You should see a positive charge on your battery bank and a green light on your charge controller.
- Enjoy your new solar-powered RV and the freedom it provides to travel off-grid and enjoy the great outdoors!
Related Guide:
How do solar panels work on a van? (an in depth look)
How much solar do I need for my van?
Best adhesives for flexible solar panels
Step 1 – Preps.
Place your solar panels in position on top of your van roof and measure your initial setup.
With a marker pen, mark the positions of the cables and the general layout of the solar panels.
It is imperative to cross-check all your initial mockups and know where your cables would run inside the van.
Step 2 – Drill a hole for the cable outlet.
Identify a location where you would run your solar leads through and drill a hole for it. Make it large enough to fit your grommet.
Check that your cables are long enough to reach your solar charge controller easily. You don’t want any tension in them.
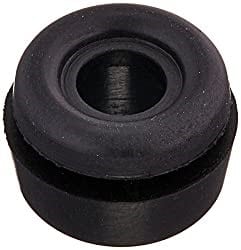
To protect the cables from the drilled hole’s sharp edges, you need to add a grommet, thus waterproofing the van’s inside simultaneously. The hole should be the closest to the charge controller to avoid wire crisscrossing the van’s living space.
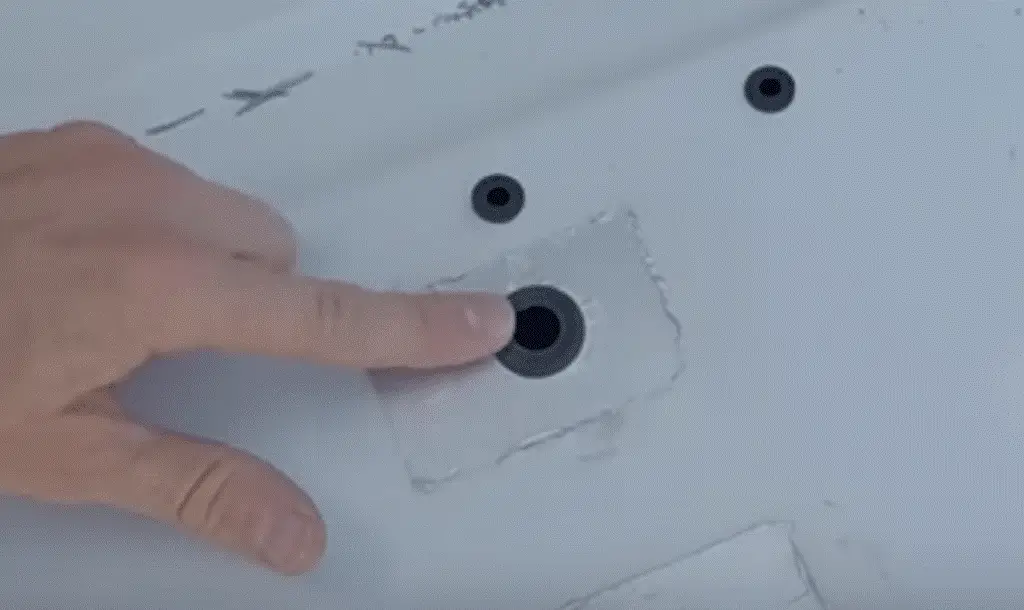
It would help if you chose the perfect grommet that fits the hole size drilled and lets your cables go through without any issue.
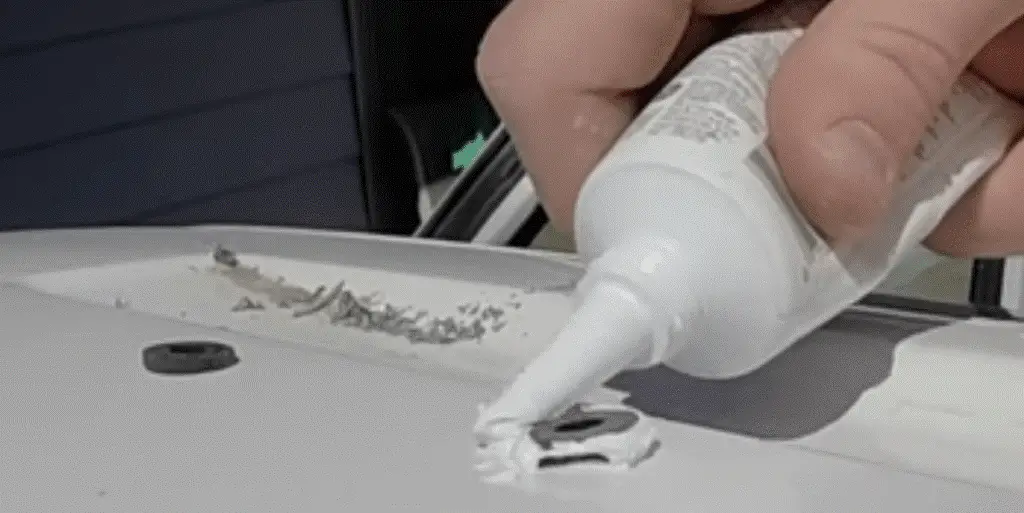
Step 3 – Apply a sealant to the holes to prevent water ingress into the van roof.
You can use Sikaflex 151 Sealant to seal your grommet properly.
Step 4 – Layout panels on the ground and verify electrical connections.
This is the first part that should be done before installing solar panels as it gives you a general idea of the layout.
Lay your panels on the ground and check if all attachments are there. By doing so, you can connect the panels in your desired orientation, parallel, or series connections. You can gather your solar panels in the exact position you planned and ensure everything works before putting them on your roof.
You should be familiar with wiring options for your solar modules, parallel or series, and the resulting voltage from such connections. This is important to note as some connection combinations have a bearing on the solar panels’ rated output.
Make one final system check. You also want to have all your tool ready and your equipment organized in the best possible manner to have a smooth installation process.
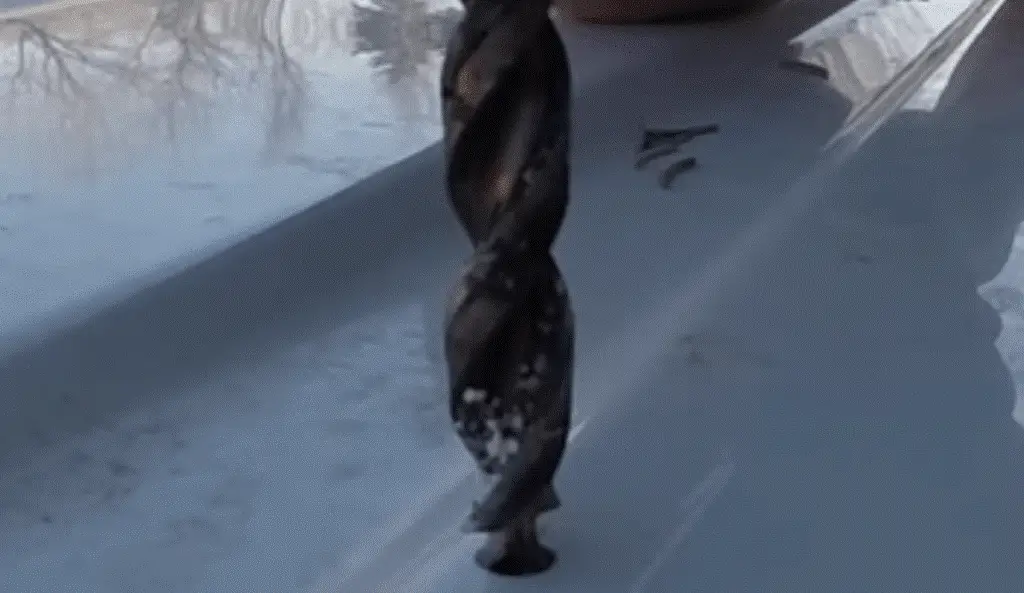
Step 5 – Install the MC4 cable
Push through your cables into the cabin and run them until your solar controller. Ensure you have a reasonable length on the roof to reach your solar panels’ position without tensioning the cable.
Use 3M mouldable putty to fill in the grommet to waterproof and make the cabin leakproof.
Step 6 – Connect and mount the panels outside.
It is recommended to add an insulation layer to prevent the solar panels from overheating. Flexible panels suffer from this handicap and need to be prevented from doing so as they experience a drop in efficiency and performance. If this looks too complicated for you, you can still fix your flexible solar panels directly to your van’s roof. If doing so, expect a slight drop in performance because of heat.
- Clean your roof with a soapy water solution, making sure you dry up the surface thoroughly. Then use rubbing alcohol as the final cleaner.
- Clean the back of your solar panels as well.
- To add your insulation pad to your flexible solar panels, lay each panel on a 3mm aluminum composite sandwich sheet, which you can make with a polyethylene layer to prevent the solar panels from overheating.
- Use 3M Hi-Strength 90 Spray Adhesive as an adhesive medium between the panel and the aluminum sandwich.
- Put your panels in position and use either glue spray or glue. Make sure you are quick and careful when setting the panels down as the cures quickly.
- Connect your panels cables to the MC4 connectors and attach the wires to your van’s roof with 3M tape so that they don’t flap around.
- Apply some pressure on the whole surface of your panels to make contact with the glue correctly. Then, you can apply a sealant all around to prevent water infiltration and moisture.
Step 7 – Connect the panels to the charge controller and battery.
After connecting your solar panels to the leads, l would advise you to test the
Step 8 – Connect your battery to your Solar Charge Controller
Connect your solar charge controller to the battery, ensuring that the positive lead runs to the battery’s positive terminal. It should be the same for the negative electrical cables. The negative cable from the battery should also be grounded to the chassis of the vehicle.
Two wires should be running from the
Let’s take a look at the various connection methods available to connect your
- Plug-in type connections – use a mating connector to connect the solar cables to the charge controller.
- Machine screw connectors –a ring terminal is used to connect the solar cables to the charge controller.
- Set-screw –.Uses screws to attach the
solar panel cables to set screws on the charge controller.
Wires should be connected as per the detailed manual provided with the charge controller. Still, the
Safety tip: It is advisable to block your solar panels from receiving light. You don’t want any electricity running through your cables during your installation process.
Step 9 – Mount the Charge Controller.
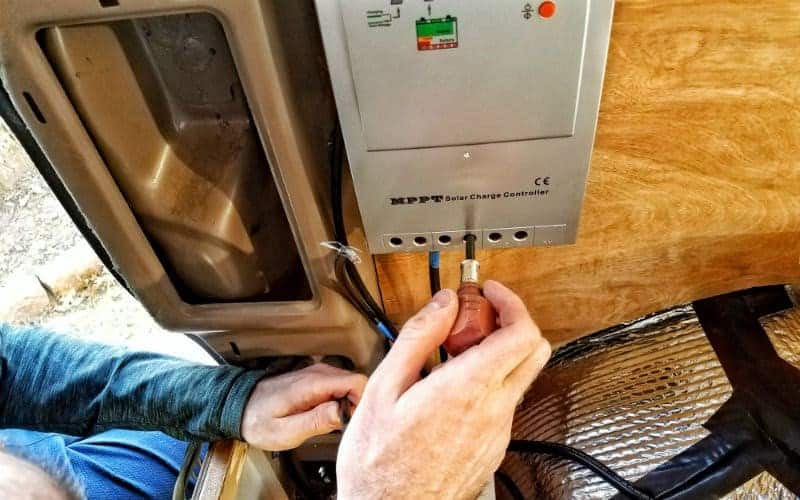
Attach your solar charge controller inside your van. You want to have easy access to it to be able to check its operating state quickly.
Step 10 – Wire Batteries Together
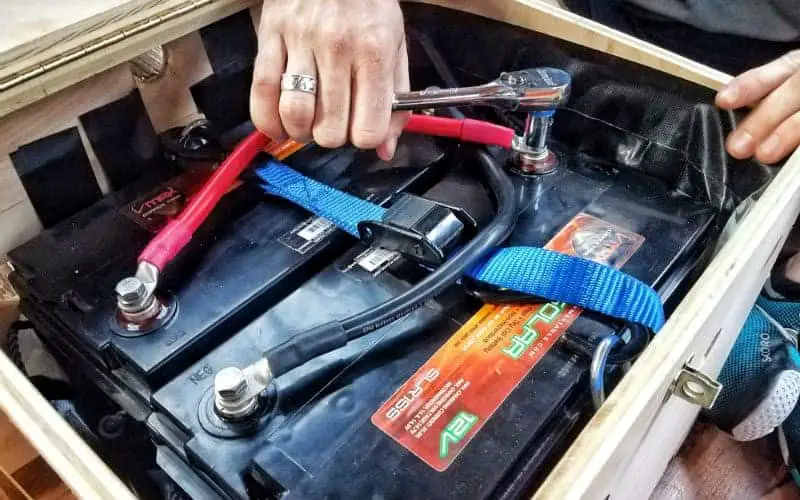
As discussed before, you need to connect your batteries in a parallel setup, only if you have two or more batteries. Using extension cables connect negative to negative terminals and positive cables in the same manner.
Step 11 – Ground Batteries to Chassis
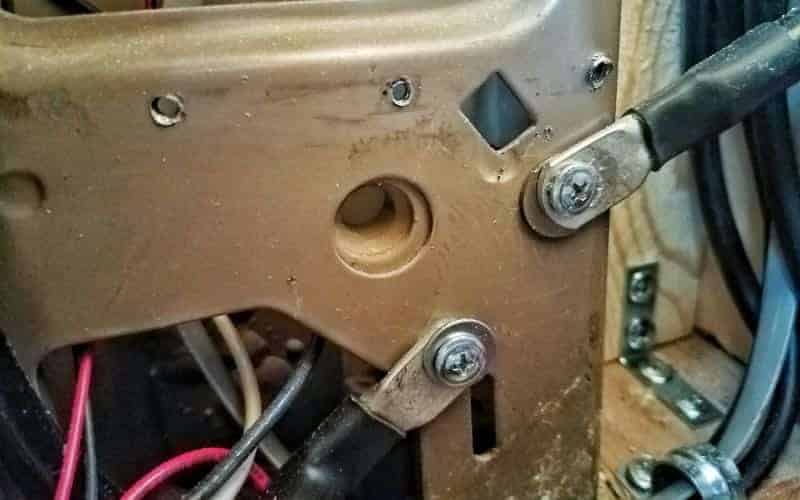
Create a ground connection from your batteries by linking their negative terminal to your van’s chassis. Make sure the connection is rattle-proof.
Step 12 – Incorpore a kill switch.
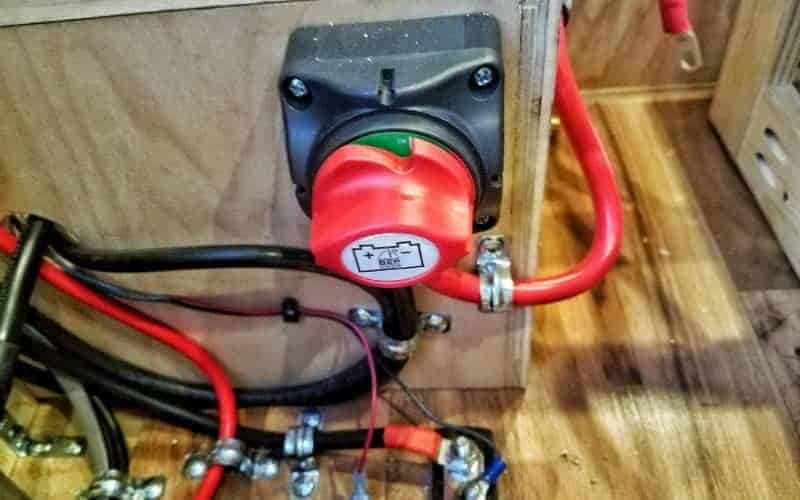
It’s a good idea to incorporate a kill switch between your charge controller and your batteries. It allows you to shut down your system if needed.
Step 13 – Connect your solar panels
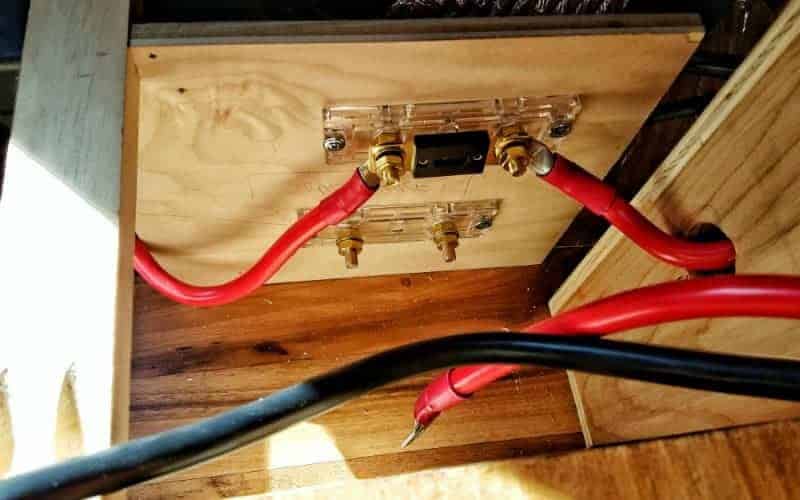
Make the necessary connections of your positive solar terminal to the charge controller. Also, do the same with the negative side. Don’t forget to incorporate a fuse in your connection. Your solar panels should now charge your battery if you put them under the sunlight.
Step 14 – Installing the outlets
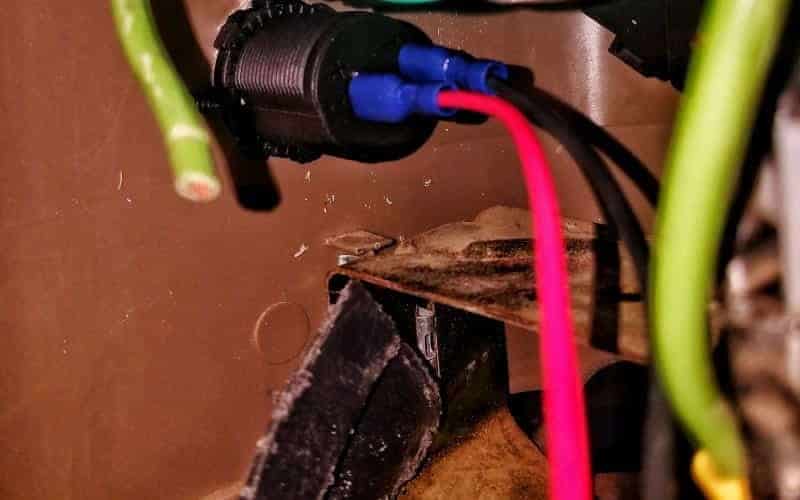
Wire the cables from the bus and fuse block and connect these to the back of the outlets. Make sure that every line is secured to prevent loose cables from shorting out.
Step 15 – Insert Blade Fuses into the Fuse block

The fuse block ensures that the power system is protected at all times. You should be able to adequately protect your system with the correct fuse sizes (Amp).
Step 16 – Wiring the Inverter to the Battery

You want your inverter to be installed near your batteries and charge controller. The inverter should also be protected and connected to the kill switch.
A wire is connected from the rear of the inverter to the 100A Main fuse. A wire is connected from the fuse to the kill switch.
Run a cable from the battery’s negative terminal to the rear of the inverter and connect it to the negative input.
The final part is to ground the inverter to the van’s chassis and make sure that the connection is rattle-proof to protect the inverter from any loose connection.
You should be able to connect your devices from the front of the inverter from the power outlets.
Safety note: When installing your inverter, follow the suppliers' instruction manual to choose the appropriate cables, fuses, and cable gauge.
Step 17 – Test your system
You should be happy to finish your installation. The final part would be to tighten any loose screws and tacking away any hanging cables.
Switch on the inverter and check your output with a multi-meter. If you can draw up from the outlets and light switches, your installation is good!
Related Guides:
– How do solar panels work on a van? (an in depth look)
– How Efficient Are Flexible Solar Panels?
– Best adhesives for flexible solar panels
Video Walk-Through
Conclusion
Solar Panels are a crucial element for anyone desiring to live off the grid. It’s the same for van life. If you say freedom, we say solar power! A system like the one we described lets you power your appliances (fan, lights, 12V fridge, etc.) and charge your batteries with either your solar panels, alternator, or shore.
When installing solar power on your RV or trailer, you have two options—you can bring your rig to the pros, or you can bite the bullet and DIY.
We’re not going to lie—installing a solar system can seem overwhelming. Unless you’re willing to dig into your system’s particulars, do the research, and diligently read the instructions that come with your solar kit, you probably shouldn’t attempt it at home.
However, we trust that anyone can do it. You need to be motivated and organized.