Having a clogged-up black water tank is one of the most frustrating experiences for an RV user. Not only does it make your RV bathroom unusable but it can also destroy the pleasant environment of your RV because of bad smells.
In this article, we’ll discuss a detailed step-by-step guide that will help you unclog your RV black tank.
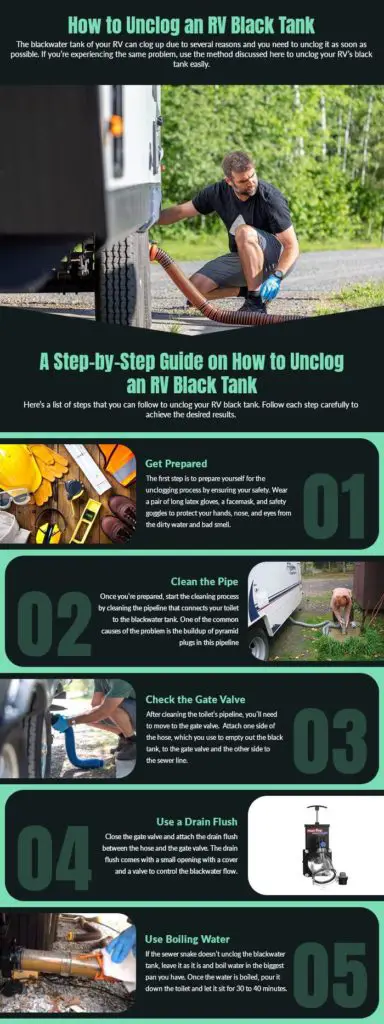
How to Unclog an RV Black Tank: A Step-by-Step Guide
Here’s a list of steps that you can follow to unclog your RV black tank. Follow each step carefully to achieve the desired results.
Step 1: Get Prepared
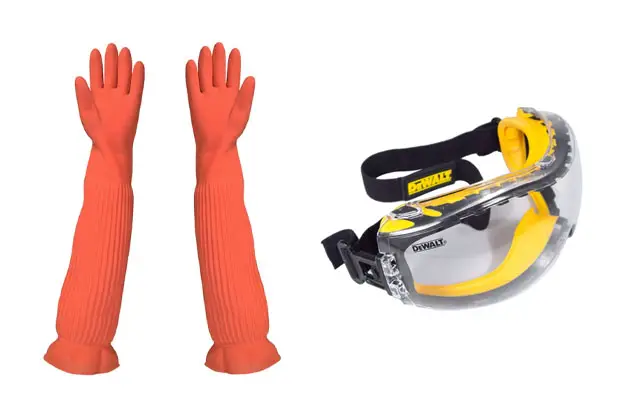
The first step is to prepare yourself for the unclogging process by ensuring your safety. Wear a pair of long latex gloves, a facemask, and safety goggles to protect your hands, nose, and eyes from the dirty water and bad smell.
They’ll also protect you from the chemicals that you might need to use to unclog the tank. Additionally, you can also wear a plastic apron, if you have one, to protect your clothes. You’ll also need to prepare yourself mentally as the entire process can be very unpleasant.
Step 2: Clean the Pipe
Once you’re prepared, start the process by cleaning the pipeline that connects your toilet to the blackwater tank. One of the common causes of the problem is the buildup of pyramid plugs in this pipeline.
The most effective way to remove pyramid plugs from this pipeline is to use a manual auger. It’ll allow you to reach deeper into the line and remove the clogs easily. Make sure that you don’t opt for a motorized auger as it can damage the pipe as well as the black tank.
If you don’t have a manual auger and can’t buy one as well, consider using a piece of pex pipe with a one-inch diameter. Pex pipe is flexible and will go deep into the pipeline of the toilet to remove the clog. Make sure that you move the piece of pex pipe back and forth multiple times.
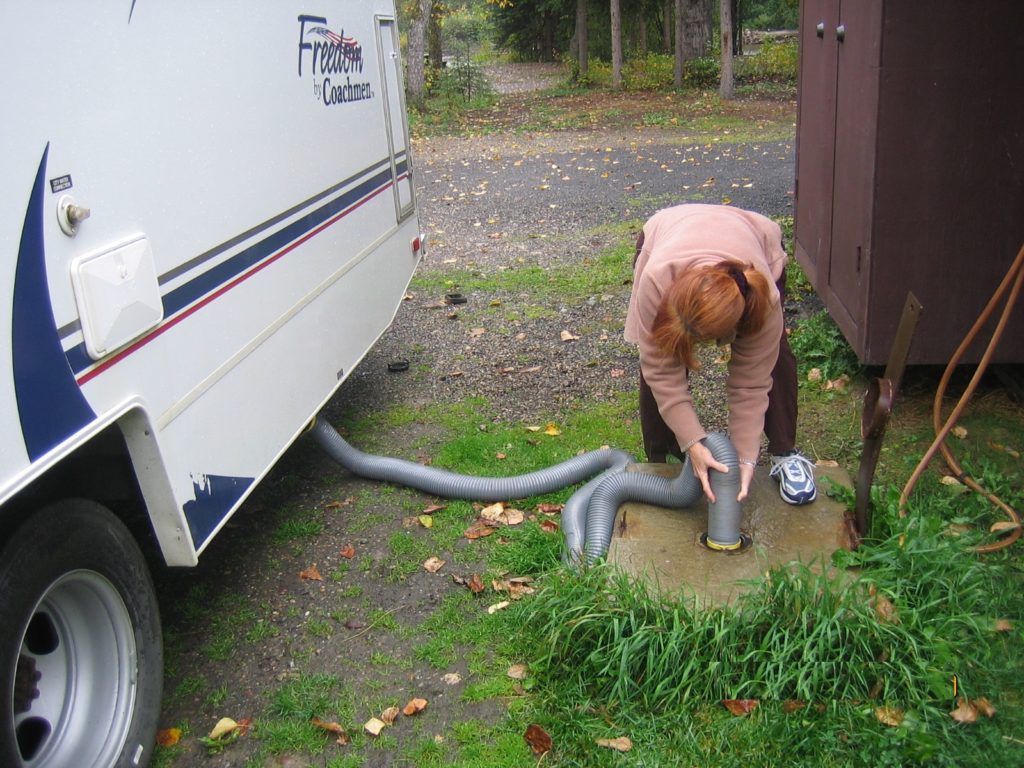
Step 3: Check the Gate Valve
After cleaning the toilet’s pipeline, you’ll need to move to the gate valve. Attach one side of the hose, which you use to empty out the black tank, to the gate valve and the other side to the sewer line.
After that, pull the T-handle of your blackwater tank. If you see that blackwater is flowing properly, the problem is solved. But if you can easily pull and push this handle with little to no resistance, it means that the water isn’t flowing through the gate valve as it should, and the clog is still there. In this case, move to the next step.
Step 4: Use a Drain Flush
Close the gate valve and attach the drain flush between the hose and the gate valve. The drain flush comes with a small opening with a cover and a valve to control the blackwater flow.
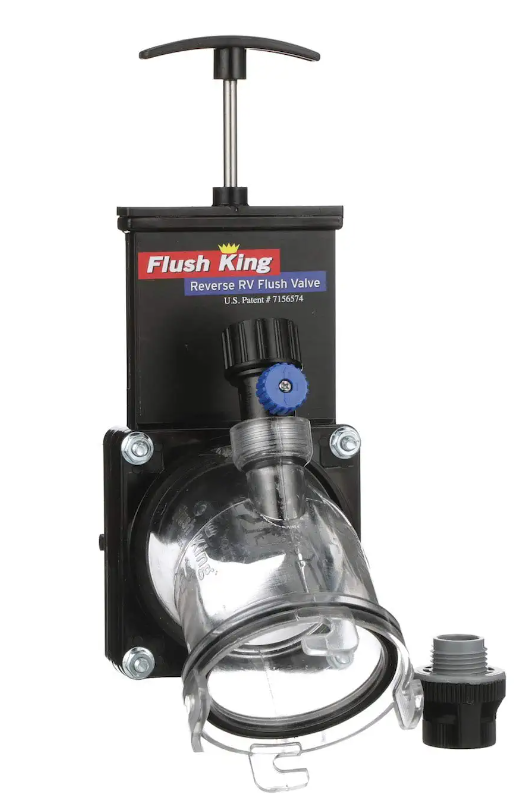
Make sure that you attach the flush component in a way so that its small opening is on the top side. It’ll prevent the black water from leaving the drain flush and reaching the ground.
Once you have attached the drain flush, remove the cover from the little hole it has and open the gate valve. Insert the sewer snake from the small opening of the drain flush.
Keep pushing the snake until you feel resistance and pull it back a bit. Push the snake again as much as you can and once it stops going any further, pull it back again. Repeat this process until it removes the clog.
Step 5: Use Boiling Water
If the sewer snake doesn’t unclog the blackwater tank, leave it as it is and boil water in the biggest pan you have. Once the water is boiled, pour it down the toilet and let it sit for 30 to 40 minutes.
The heat of the water will help break down the clog. After that, grab the sewer snake and use the same technique to help blackwater start flowing freely.
If you’re still out of luck, consider using a commercial RV tank digester. You can find different types of RV blackwater tank cleaners and they come in different forms, such as liquid and powder packets.
You’ll need to throw them in your toilet and wait for some time, depending on the manufacturer’s recommendations. Not only do they break down clogs but they also remove bad odors from the toilet and tank.
Tips to Prevent Future Clogs
Once you have unclogged your RV’s black tank, use the tips listed below to prevent future clogs.
- Always use toilet paper specially designed for RVs and rip them apart before using them. If you’re using traditional toilet paper, make sure that you don’t put them down the toilet as they’ll lead to clogs.
- Use the water tank to flush the waste whenever you use the toilet. If you don’t have a water tank, use 1.6 gallons of water to make sure that the waste is flushed properly.
- Use a commercial RV toilet cleaner regularly to prevent the gunk from accumulating. Ideally, you should use a cleaner at least once every two weeks. Make sure that you buy a commercial product that’s specially designed for the black tanks of RVs and motorhomes.
- Dump your blackwater tank as soon as possible. If water with waste remains in the tank, it’ll increase the risk of clogs. However, you should not let the tank remain fully empty as well.
Related Guide:
How to Dump Grey Water When Living in a Van
Best RV Electric Dump Valve
Final Words
The black tank is one of the most important parts of your RV or motorhome. It allows you to use your own toilet without needing to search for a public toilet, shower whenever needed, and freshen up anytime you want.
Therefore, it’s important to keep it in good condition. We hope this guide will help you understand the correct way to unclog your RV’s black tank. Don’t forget to use the preventative tips to prevent future clogs.