Hi-van is supported by its audience. When you purchase using our links, we may earn an affiliate commission (no added cost to you). Learn more
Cleaning your camper van’s water system is crucial for healthy, safe water. If you don’t clean it, there will be tons of bacteria and mold, ruining the drinking water. The good news is you can refreshen the water tank in one day, making it as good as new. Do this twice a year as you use your camper for van life, and your water tank will be in great shape.

To clean a camper van’s water tank for freshness, drain the tank until it’s halfway full, pour ¼ cup of bleach per 16 gallons, drain the faucets until you smell bleach, and drive for an hour to mix the liquids. Drain the solution, fill the tank with water, and run the faucets until they’re empty.
Throughout this article, we’ll discuss the step-by-step process to clean your camper van’s water tank to keep it healthy and safe to use. We’ll also show you an alternative solution using an RV water tank cleaner.
Drain the Water Tank to Half Full

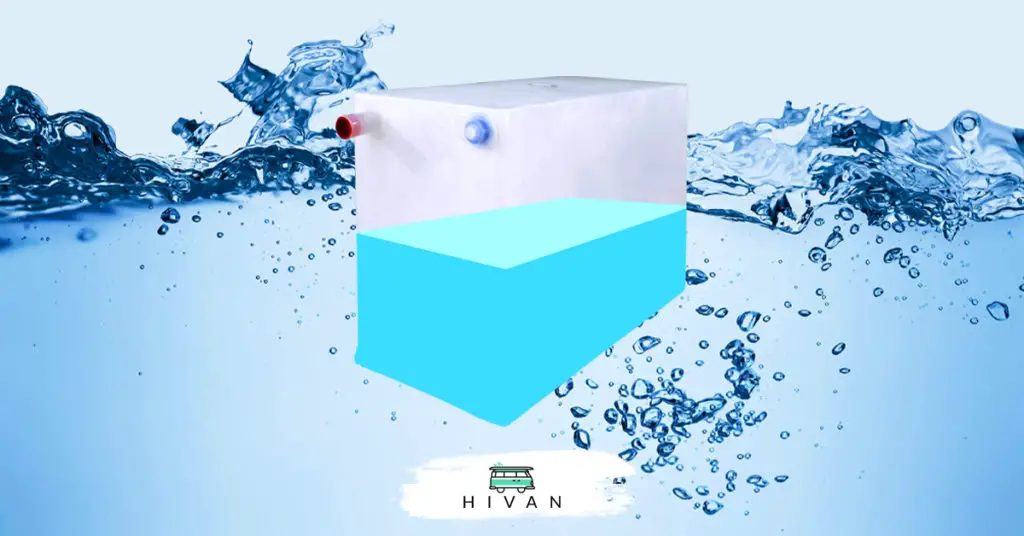
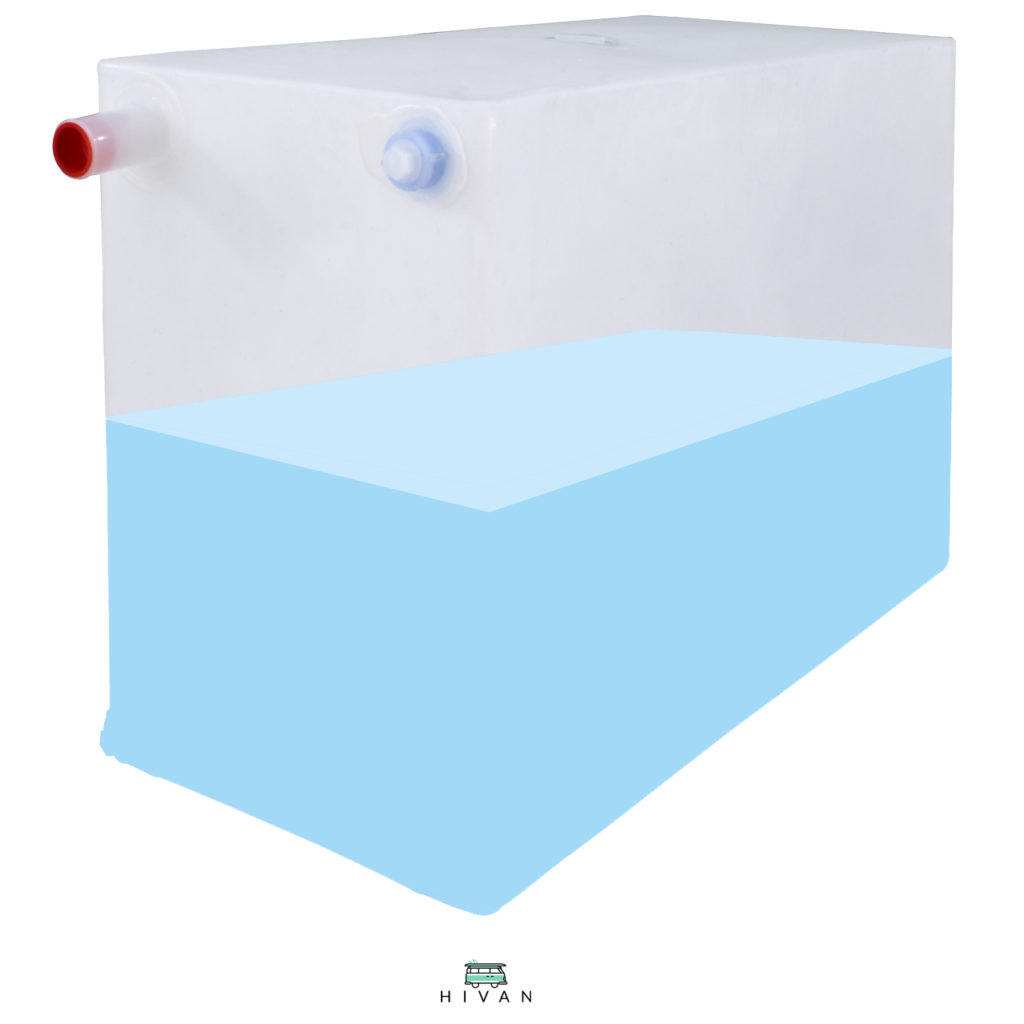
Before you start cleaning the water tank, it needs to be drained down to half full. If it’s too low, you won’t have enough bleach to mix through the system. If it’s too high, there won’t be enough room for the bleach and water solution you’re going to learn about in a couple of sections.
The best way to drain the water tank to the ideal level is to turn on the water pump and all of the faucets. Turn on every sink and shower. You don’t need to run the toilet since there’s no need for ultra-fresh drinking water to flow through it. Keep an eye on the water tank’s levels to know when it’s drained to halfway. It doesn’t need to be exact; A little more or less won’t hurt the process.
Another way to drain the tank is to siphon it through the side inlet or low-point draining system. Many camper vans have a low-point draining hose that works with gravity. When you open the cap, it drains all of the water in the system. You’ll need someone inside to check the levels since they’ll drain quickly.
Close the Filter or Heater Valves and Ice Maker
Next, you should close the filter and heater valves to ensure the water flows through the lines rather than the filter and water heater. If bleach goes through the water filter, it can damage it. Camper van water filters have enough charcoal or bleach to work without being sanitized.
Here’s how you can close the valves:
- Look under the sink or wherever the filters are. There should be a series of valves, with one labeled ‘water filter’ or ‘bypass valve.’
- Turn off these valves, and the water will flow through the main line. Do this same process for the water heater.
- Turn off the ice maker in the freezer if you have one. The ice maker shouldn’t be on because it’ll freeze bleach cubes, which are extremely dangerous.
- Turn on the water pump and faucets to ensure the water isn’t warm when it’s set to the heated mode. This process ensures everything you did worked and the tubes are bypassed.
If you’re looking for a quick, helpful video tutorial, try this guide by RV Geeks on YouTube:
Choose Between Bleach or Water Tank Cleaner
Some people prefer bleach because it’s inexpensive, provenly effective, and readily available. RV tank cleaner can be quite expensive because it has one purpose and is generally sold in camping stores (which are often notorious for setting high prices). However, a little bit of tank cleaning solution goes a long way.
If you want to use bleach, it’s important to ensure it’s not old or stale. One of the steps you’ll soon read requires you to be able to smell the chemical when it flows through the system.
If the bleach is stale, it won’t have much of an odor. Not only is this frustrating because you won’t know when it’s clean, but it can be extremely dangerous for those who stop draining the tank too early.
Below, we’ll discuss the pros and cons of using bleach vs. RV water tank cleaner.
Find this content useful 🙂 ?
Subscribe to our Newsletter and get a free Solar Electric Diagram + shopping list.
Using Water and Bleach
Water and bleach is usually the go-to mixture for people cleaning their water system. It’s easy to use since all you need is a pitcher, bleach, and water. According to Camping World, you’ll need ¼ of a cup of bleach per 16 gallons of water. Make sure you calculate the tank’s total size, not by how much water is currently in the tank.
If you choose this method, pour the bleach into the pitcher and top it off with water. Stir the solution and get ready to dump it into the water system. If you can’t fit all of the bleach into one pitcher, you’re probably using too much of it.
Most camper van water tanks won’t require more than one to two cups of bleach. Diluting it in a pitcher or bowl of water is important because it stops the bleach from pooling at the bottom of the vehicle’s water tank.
Which Tank Cleaner Should You Use?

Choosing a high-quality RV water tank cleaner makes a world of difference. The Camco TastePure Water Tank Cleaner is a concentrated cleaning solution that removes contaminants from your water system. All you have to do is mix one gallon per 100 gallons of water in the tank. As you could imagine, a one-gallon container lasts a long time.
Since your camper van’s water tank likely only has 50 gallons or less, you will likely get two uses out of each bottle. You can clean your tank twice per year without breaking the bank. However, it’s worth pointing out that it’s a little more expensive than bleach, though many people believe it does a better job.
Fortunately, using a water tank cleaning solution uses similar steps to the bleach option. However, you don’t need to dilute it with water beforehand. You can dump the solution straight into the water tank or siphon it with a hose.
Pour the Solution Into the Water Tank
Whether you choose bleach and water or a tank cleaner, you have to pour it through the water tank. Your two options are to dump it through a funnel or use a hose to siphon the liquid from a pitcher or bowl. Dumping it straight into the tank will likely cause a spill, and you want to get every drop into the water tank for maximum effectiveness.
Look for the water tank pour-in cap. If your vehicle doesn’t have one, there will be a hose insert area. Place the hose (it should be included with the camper van) into the inlet, with the other end going into the pitcher to siphon the solution. Turn on the water pump until all of the liquid is removed, then turn it off.
The bright side is that almost all modern camper vans have a water pouring area that leads into the tank. You shouldn’t have to worry about siphoning, but it’s always a good skill to have.
Fill the Rest of the Tank With Fresh Water
Have someone stand inside the camper van to check the water levels while you fill it with a freshwater hose. Make sure you clean the hose before using it to prevent bacteria and debris from getting into the water tank. This step is crucial if you’re using a public water source, such as a fill station at a campground.
You need to top off the water tank because it has to dilute the mixture. There won’t be enough water to dissolve the tank cleaning solution or bleach if it’s not full. Remember that all of the measurements are designed to work with a soon-to-be-full tank, which is why you have to top it off before draining the system.
Activate the Water Pump and Faucets to Completely Clean your Water Tank
RV Share explains the easiest way to clean every water line is to turn on all of the faucets and let the water and cleaning solution pour through. Follow this step-by-step method for the best results:
- Turn on the water pump.
- Open all of the sink faucets, showerheads, and anywhere else freshwater goes through.
- Run the water lines until you can smell bleach coming out of each of them, then flip them to the hot water side and wait until you smell bleach again.
- Turn off the water pump once you smell the bleach from the hot and cold water line on the shower and sink(s).
- Wipe all of the faucets and showerheads with a sanitizing solution to remove grime, debris, and anything else that flowed through them.
Sanitizing the water lines of an old camper van could send gross debris through the faucets that might’ve been sitting there for a while. It doesn’t hurt to remove the mesh filters on each faucet to let everything pour through.
Drive the Camper Van for a Few Hours
The only way to agitate the water is to drive on a windy, long trip. Moving the vehicle side-to-side will slosh it enough to mix everything and clean the tank. Part of the process is to clean the tank, while the other part is to clean the lines. While the lines are clean from flushing the faucets, a dirty tank can ruin everything.
Many campers believe the best time to clean a water tank is right before a long drive. If you’re going to cruise for a couple of hours, why not remove debris and sanitize the tank? This process might sound a bit complex, but it’s actually quite straightforward once you’ve done it a time or two.
Drain All of the Water From the Van Tank
There are two ways to drain the water tank:
- Siphon it from the water tank with a hose or a low-point draining system. If your camper van has a water tank drain, you’re in luck; This method is as easy as it gets. Open the tank’s cap and let it flow through the bottom until everything pours out. You might notice debris, which is a sign everything is going according to plan.
- Run all of the faucets as you did earlier. Turn on the water pump and open every faucet and showerhead until there’s nothing left in the tank. You’ll know it’s near the end when the water slows to a drip. You can also open the toilet to drain the water since it drains much quicker than anything else in the camper van.
Refill the Water Tank and Run the Faucets Twice
Once everything is completely drained, fill the water tank with fresh water and then drain it again. You’ll have to do the same step as the previous section by removing everything through the faucets, showers, toilets, etc.
Getaway Couple claims you need to clean your camper van’s water tank once every six months for full-time travel and every three months for part-time travel. Strangely enough, the water tank gets dirtier the less it’s used. As the water sits stagnantly, bacteria and mold will grow and cloud it. This natural process makes it unsafe to drink and clean with.
Find this content useful 🙂 ?
Subscribe to our Newsletter and get a free Solar Electric Diagram + shopping list.
Switch the Valves and Filters Back to Normal
Now that your camper van’s water take is fresh and safe to use, you’ll need to open all of the valves you closed at the start of the article. The hot water valve and filter valve should be the only ones that you closed. This is also a good time to turn the ice maker back on if you have one.
Refill the tank with fresh water and run everything through each faucet and showerhead, ensure there’s no bleach or chemical smell. If there is, drain and repeat the process. If there’s not, you’re good to use it as you would normally.
Conclusion
Cleaning your camper van’s water tank is an essential part of owning a recreational vehicle. Whether you’re living in it or using it once per year, the vehicle’s water system needs to be sanitized regularly. Remember to drain the water twice to prevent it from having too much bleach for cleaning and drinking.

