A trailer hitch, or a tow hitch, is a necessity if you’re looking to use your minivan to transport everything from campers, trailers, and mobile homes to boats and kayaks. However, before you can attach the trailer to your car, you’ll first need to make sure the hitch is connected securely and safely.
Here’s how you can attach a hitch to your minivan in 7 easy steps:
- Know how much weight your minivan can tow.
- Gather your tools and get your workspace ready.
- Set up a work light
- Prepare your minivan.
- Attach the hitch.
- Ensure the hitch is secure.
- Check your minivan.
The rest of this article will break down these steps further, so you’ll be able to attach a hitch to your minivan in no time flat. If you’d like to discover more articles related to van build, check my resources page here.
1. Know How Much Weight Your Minivan Can Tow
Before you can attach a trailer hitch, you need to know precisely how much weight your minivan can tow. This will allow you to choose the right class of hitch for your needs. You should never go over the tow limit of your vehicle, as you can damage its engine and transmission.
You should be able to find this information in the minivan’s instruction manual. If you’ve misplaced this, you’ll also be able to find it through a quick Google search.
One important thing to remember before attaching something to the trailer hitch is to take the hitch’s weight into account. For example, if your minivan has a tow limit of 10,000 pounds (4536 kgs) and your hitch weighs 200 pounds (91 kgs), you’ll only be able to attach a vehicle that’s up to 9800 pounds (4445 kgs) to your minivan.
2. Gather Your Tools and Get Your Workspace Ready
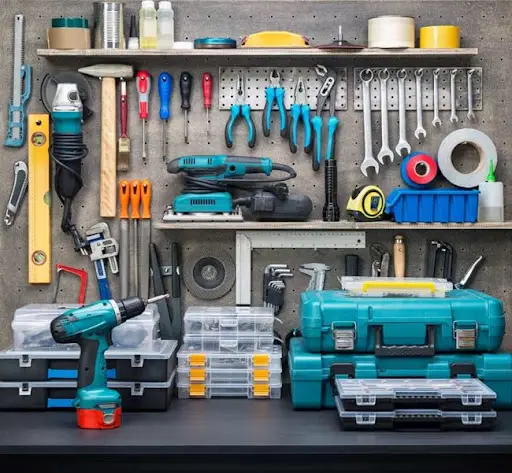
Once you have the correct hitch, make sure you have all the tools you need to attach it to your minivan and that your workspace is ready for you to get down and dirty with your vehicle.
There are numerous tools you’ll need, including:
- A power drill and drill bits
- A wire tube brush. I recommend the 10 Piece Tube Bottle Brush Kit from Amazon.com. This set of tube brushes includes options in numerous sizes and includes brushes with both stainless steel and brass handles.
- A torque wrench
- A trailer hitch pin and clip
- Wheel chocks. I recommend the MAXXHAUL 70472 Rubber Wheel Chock from Amazon.com. This pack of two chocks can withstand any weather and each chock has a built-in handle that makes it easy to position. It also comes in two different sizes, so you can choose the option that best fits your needs.
- A C-clamp. I recommend the IRWIN Quick-Grip C Clamp from Amazon.com. This clamp is highly durable and has a large handle that allows you to gain higher clamping pressure with less effort from your side.
- Penetrating lubricant
You’ll also need to make sure that you have the proper safety equipment, including a sturdy set of work gloves, to ensure you’re fully protected while working on your minivan.
3. Set Up a Work Light
Before you start working, make sure you have enough light under your minivan to see clearly. A portable work light makes attaching a hitch significantly easier, no matter whether you’re doing so in the middle of the day or at night.
Make sure you position your light correctly, ensuring you get the advantage of added light without having your range of motion obstructed.
4. Prepare Your Minivan to Add a Hitch
Once you’ve made sure you have enough light to work with, you’ll then need to make sure your minivan is fully prepared for the hitch to be attached.
Steps that you’ll have to take include:
- Ensure the parking brake is activated, so there’s no risk of your vehicle rolling away from you and hurting you in the process.
- Remove the spare tire if it’s in your way.
- Make sure the wheels are chocked. This involves placing wedges under the rear tires so that you have further protection in case your minivan rolls. You can also place chocks on the sides of the tires if you’re looking for additional peace of mind.
- Jack the car if you need extra room to work.
- Check the instructions that come with the hitch to see if you need to remove any parts before attaching it to the minivan. If required, remove all plugs, bolts, and other components as indicated.
- Clean the holes your hitch will hook into thoroughly to make sure there are no obstructions. If there are no holes to hook the hitch into, you’ll have to drill holes before attaching it to your minivan.
Once your vehicle is properly prepared, you can move on to actually attaching the hitch.
Find this content useful 🙂 ?
Subscribe to our Newsletter and get a free Solar Electric Diagram + shopping list.
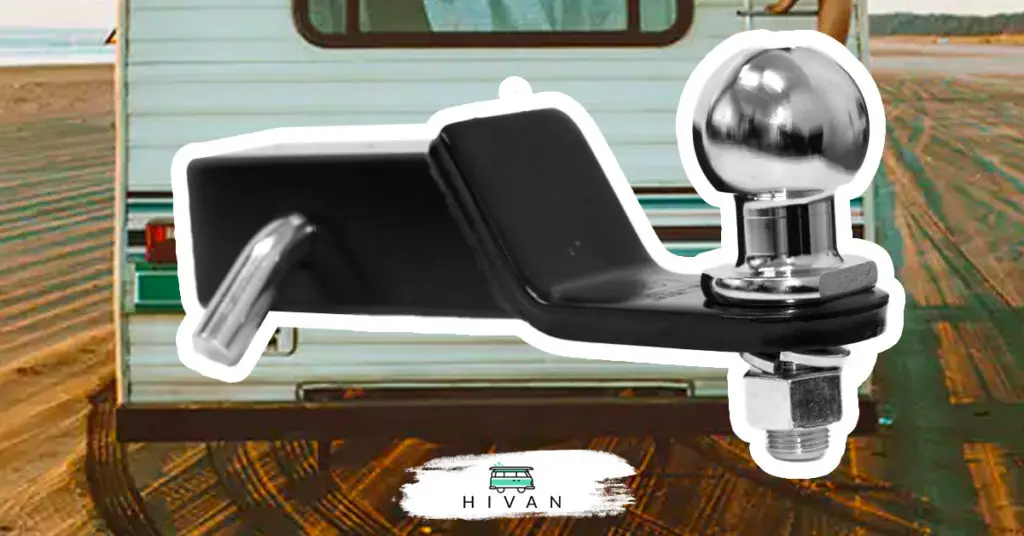
5. Attach the Hitch
When attaching, you’ll need to first install a ball mount and trailer ball if your minivan doesn’t already have one. Once this is done, you’ll need to:
- Move the hitch into position. Keep in mind that trailer hitches are heavy and routinely weigh over 50 pounds (23 kgs). You may need help to make sure the hitch is in position.
- Attach the hitch using the C-clamp or nuts and bolts to hold it in position.
- Tighten all the bolts with your hands.
6. Ensure the Hitch Is Secure
In the previous step, you tightened all the bolts with your hands. Once they’re as secure as you can make them, you’ll then need to tighten them further using your torque wrench.
When tightening, refer to the tow hitch instruction manual to see how tight the bolts should be. If they’re looser than recommended, the hitch may come undone while you’re traveling with it.
Before traveling with the hitch, you’ll also have to make sure that your brake lights and turn signals are working correctly. Legally, you’ll have to wire these to the tow hitch using a trailer wiring harness. You can do this on your own or hire a professional to help.
7. Check Your Minivan
Before you drive out of your garage with a trailer attached to your minivan, double-check to confirm that all the parts are secure. You’ll also have to verify that the turn signals and brake lights are connected to the tow hitch, and the wiring is safe.
If you have any concerns, get in touch with a professional for help. Issues with hitch installation can result in significant damage to your minivan. Furthermore, if these problems aren’t handled before you drive long distances, you’ll likely be staring down costly repair bills.
For a better idea of how to install a trailer hitch to a minivan, you can refer to this short video on Youtube:
Keep in mind that the process may be slightly different for your minivan. The exact process will depend on the make and model of your vehicle, as well as the brand and model of hitch you choose. However, in general, this video is a good guide on how you can expect the installation process to go.
Final Thoughts
Attaching a trailer hitch to your minivan is a relatively simple task, especially for people who have experience working with vehicles. However, you’ll need to make sure that all attachments are safe and secure and that you’re following all the relevant laws before you can attach a trailer to your vehicle and start with the road trip you have planned.