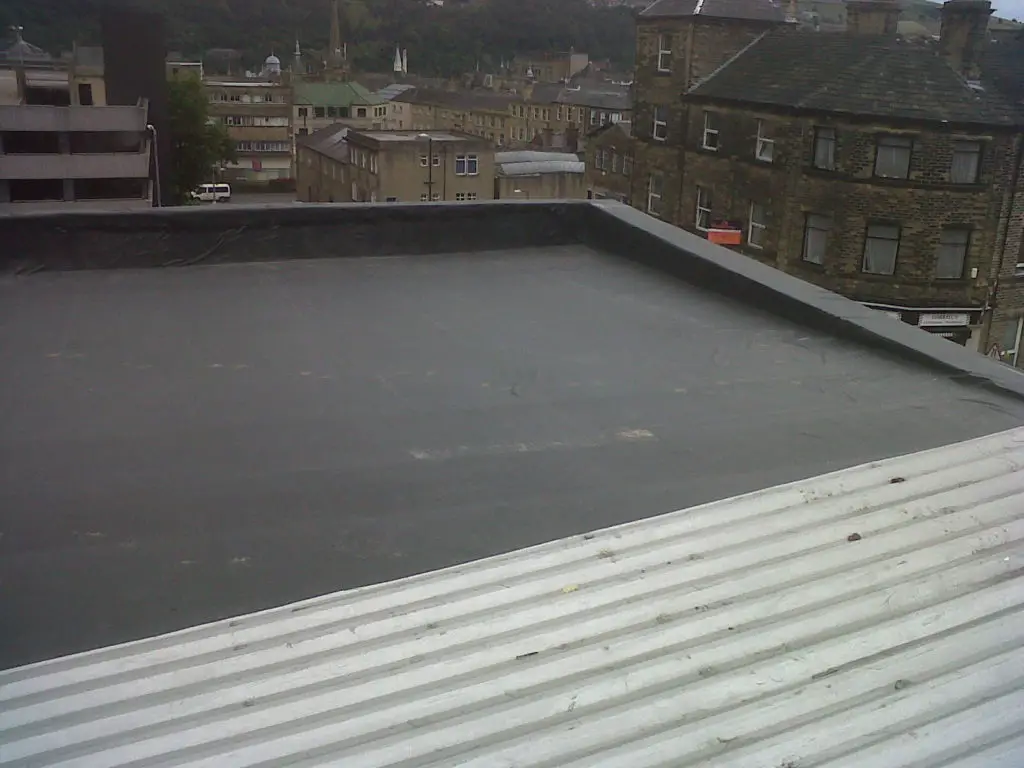
EPDM is one of the most commonly used RV roof types in the United States. It’s an affordable and lightweight material that can last a long time, up to 20 years.
EPDM stands for Ethylene Propylene Diene Terpolymer and it’s basically a rubber membrane. The easiest way to identify this material is to look at its bottom side, which is mostly black but it can also be dark gray.

In this article, we’ll discuss two different methods that will help to determine if your RV roof Is EPDM.
How to Tell If My RV Roof Is EPDM: Easy Methods
You must clean your RV’s EPDM roof once every few months to keep it in good condition. It will allow you to inspect it for small holes and cracks, which allow moisture and water to reach the wooden structure. If you see holes or cracks, consider using caulking to seal them properly.
However, you’ll need to determine the type of roof you have in your RV as it’ll help you choose the right cleaning materials.
For example, if you have an EPDM roof, you’ll need to steer clear of abrasive cleaners, containing citrus ingredients and petroleum distillates. That’s because they can damage such roofs badly.
Whether you’re just curious or want to know your RV’s roof type for maintenance purposes, use any of the methods listed below.
Method 1: Overhead Roof Vent
The first and the easiest method involves the overhead roof vent of your RV. You can use the steps listed below to complete this method effectively.
- Go inside your RV and locate the overhead roof vent. Most RVs come with one or two overhead roof vents. If your RV has two, you can choose any of those.
- You’ll see four screws securing the trim ring of the roof vent. You’ll need to inspect the screws and use the right screwdriver to remove them. Use a stool or stepladder if you can’t access the screws from the RV’s floor.
- Next, remove the vent’s trim ring and set it aside.
- Now, you’ll see a section of the roof membrane (white colored) attached to each side of the overhead roof vent’s opening. Grab the roof membrane from one of the edges and look at its bottom side.
- Remove the staples securing the membrane to the edges of the opening if you can’t see its bottom side easily.
- If the bottom side of the roof membrane is black or dark gray, it’s EPDM. If both of the sides have the same color, it’s TPO (Thermoplastic Polyolefin).
- Make sure that you press the roof membrane back to its place and secure the vent’s trim ring using the screws you removed.
Method 2: Trim Strip
If you can’t access the overhead roof vent for any reason, you can use the trim strip of your RV for the same purpose. This method requires more work but will help you determine the type of roof you have.

Use the steps listed below to use the RV’s trim strip to determine if you have an EPDM roof.
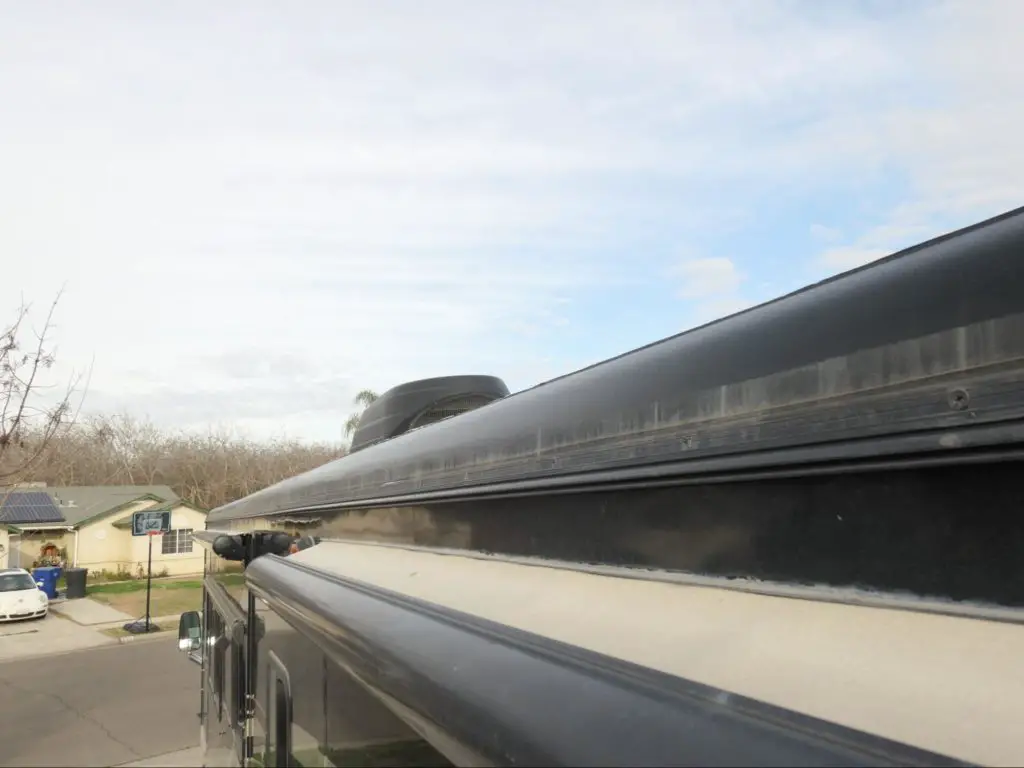
- Go to the rear end of your RV and look at the roof line. Here you’ll see the trim strips or termination bars with screws connecting the sidewalls to the roof.
- Place a stepladder beneath the trim strip to access the screws. Be careful while climbing up the stepladder to ensure safety.
- Inspect the screws and use the right type of screwdriver to remove four or five screws from the side strip.
- Pull the strip gently and hold it back from the roofing material. Make sure that the distance between the strip’s edge and the RV’s body is not more than one inch. Otherwise, you’ll end up bending it permanently.
- Examine the back side of the roof membrane to see its color. Again, if it’s black or dark gray, you have an EPDM roof.
- Once you have determined the roof type, secure the trim strip properly using the screws you removed. You want to make sure that the trim strip is watertight.
Final Words
Determining whether or not your RV roof is EPDM doesn’t have to be difficult. You just need to follow the right method to complete this task easily and effectively. We hope this guide will help you understand how to tell if your RV roof is EPDM.
