Getting a great deal on a pop up camper might have visions of outdoor adventures dancing through your head. If you don’t like your camper’s aesthetics, you can always paint it, but there’s a right way and a wrong way to paint your pop up camper.
Here’s how to paint your pop up camper the right way:
- Unsnap the canvas from the ends of your camper.
- Clean the canvas.
- Apply acrylic paint.
- Remove any decals from the surface of your camper.
- Sand and pressure wash the surface.
- Apply exterior paint.
The remainder of this article will explore each step in further detail and provide information on what materials to use. After reading this article, you will be well on your way to DIYing your pop up camper’s paint job.
1. Unsnap the Canvas From the Ends of Your Camper
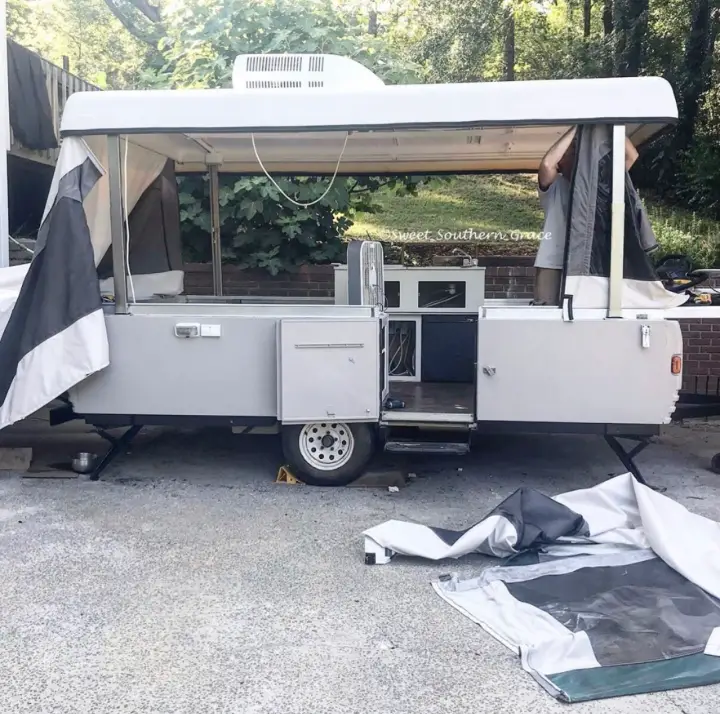
If you’re looking to give your pop up camper a complete makeover, then you will likely want to paint the canvas on your camper as well as the camper body. Fortunately, this is a fairly straightforward process, and it begins with unsnapping the canvas from the ends of your camper.
Of course, this step will depend on the make and model of your pop up camper; however, the following steps apply to most pop-up campers.
- Grab a buddy. This task will likely require an extra set of hands.
- Remove all canvas fasteners.
- Unplug any electrical wires that route through the canvas.
- Gently pull the canvas out of its mounting track and slide it out.
Now your canvas top is ready for prepping.
2. Clean the Canvas
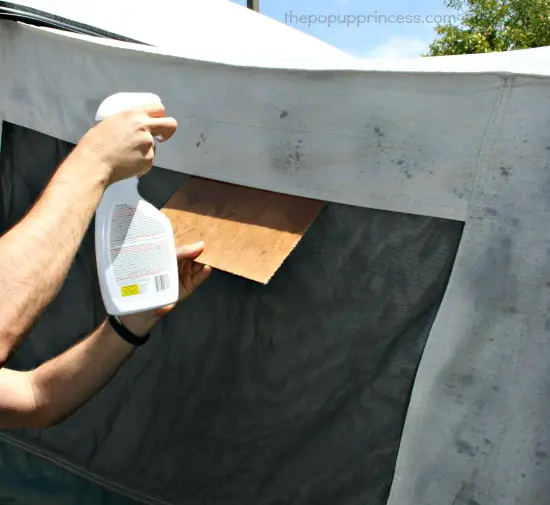
The canvas may seem hard to clean, but it is a simple job if you have the right tools.
Use a broom to sweep away all debris. Then grab a bucket, a hose, and a large sponge. Car washing sponges are great for cleaning canvas.
You can either use a cleaner made specifically for canvas, or you can take advantage of household items. Non-detergents and other mild soaps are a good option. Be careful not to use a detergent, as this can deteriorate the canvas.
Mix your chosen cleaner and water in the large bucket. Dip your sponge in this mixture and gently scrub your canvas in circular motions.
After allowing the canvas time to dry, you will have a clean painting surface to begin working on.
3. Apply Acrylic Paint
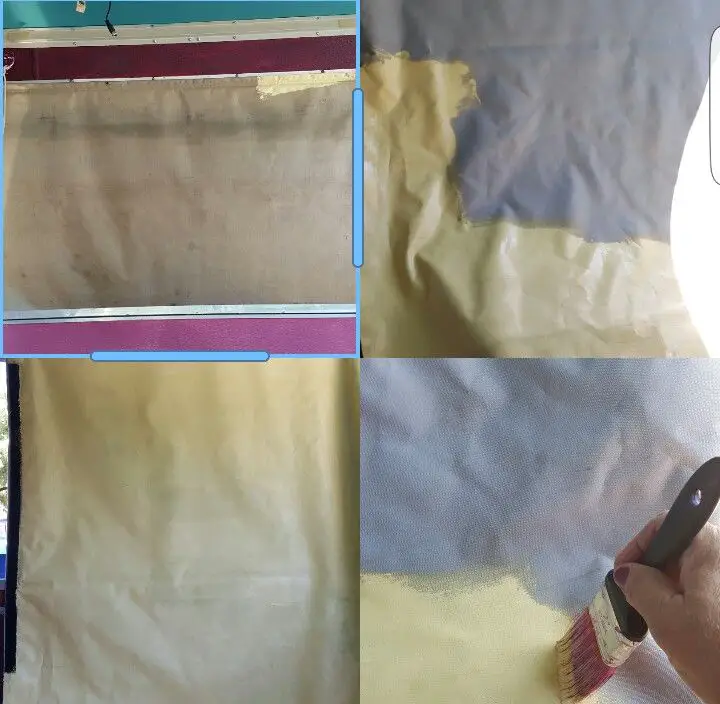
Now for the fun part: choosing your color and remodeling your canvas!
After applying and drying a coat of primer, use a standard paintbrush to carefully apply acrylic paint. Although many types of paint are available, you want to use acrylic paint because it has a consistency that works best for canvas.
Work slowly and begin applying small amounts. Using the paint in small amounts will allow the canvas to maintain its flexibility.
Once the canvas is painted and drying, you can begin work on the main surface of your camper.
4. Remove Any Decals From the Surface of Your Camper
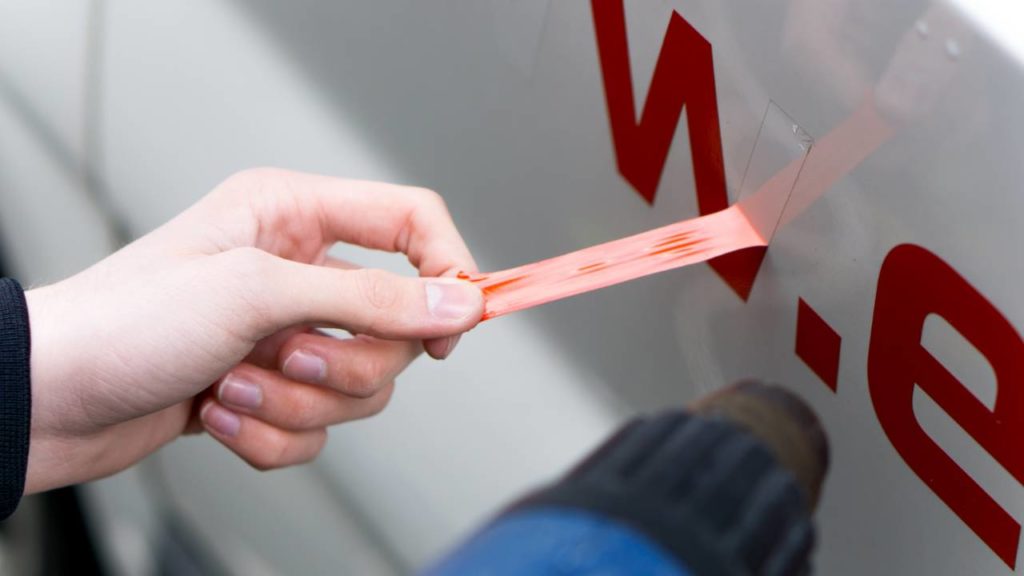
One of the best parts about owning a camper is decorating it in decals that reflect your style. However, if you want a smooth, clean finish for your camper’s new paint job, you will need to remove any decals the former owner applied.
To easily remove a decal without leaving residue, heat up the decal with a blow dryer or similar tool. Then, carefully peel the decal off with your fingers or a plastic card.
Once the decal and any glue residue is gone, you will have an even surface to begin painting.
5. Sand and Pressure Wash the Surface
While an even surface is crucial for a good coat of paint, you are only halfway there. Half of the job of painting your camper is ensuring that it has a smooth surface for application as well, so you will want to sand and pressure wash the unit before applying any paint.
Sanding Your Camper
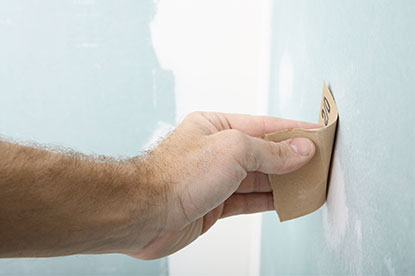
Attach a sandpaper disc to a sander. The Y-Sekai 70 discs (available on Amazon.com) work great with the BLACK + DECKER Random Orbit Sander (available on Amazon.com). The random orbit sander will give your camper a polished, swirl-free finish. Properly sand the surface of your camper by starting with more coarse sandpaper and finishing with a fine one.

When sanding, control the sander in circular motions. Periodically stop to brush any dust off of the surface of your camper to guarantee an even sanding job.
Pressure Washing Your Camper
Once you are finished sanding, it is time to pressure wash your camper using a power washer. Begin washing while standing at least four feet away from your camper. Move closer to clean any stubborn spots. Move the water stream slowly and evenly across the camper’s surface.
Allow the camper to try and then look at it to see if you have missed any spots before moving to the painting part of the project.
- HIGH PERFORMANCE ORBIT SANDER - 2.0 Amp corded electric random orbit sander for a swirl-free finish
- HIGH EFFICIENCY - Delivers 12000 OPM (orbits per minute) to quickly sand material
- LIGHTWEIGHT AND COMPACT - Fits in tight spaces for more versatile sanding

You can purchase a power washer for future use, like the Westinghouse Outdoor Power Equipment WPX2700 (available on Amazon.com). It’s a gas-powered pressure washer with great reviews for a great value.
If you don’t want to purchase a power washer, you can always rent one. Be sure to choose a gas-powered washer when preparing your camper’s surface for paint as it will deliver more pounds per square inch (psi) than their electric counterparts. The higher the psi, the cleaner the surface will be.
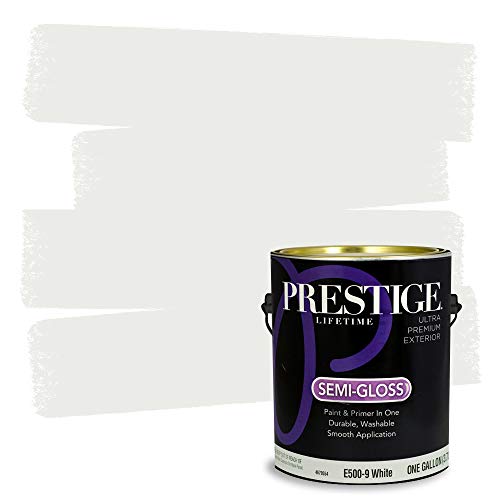
6. Apply Exterior Paint
- Ultra-premium paint and primer in one
- High hiding formula for excellent coverage with smooth application
- 100% Acrylic latex paint for easy soap and water clean-up
Similar to when you painted your canvas, you will want to begin by applying at least two coats of primer.
Use blue exterior tape around the borders of the area that you want to be painted. This will keep the paint job looking crisp and professional.
Then, apply the primer and wait overnight for it to dry.
Be certain to use exterior paint only because it will protect your camper’s surface from weather elements. For your camper’s finish, you may want to use Prestige Exterior Paint and Primer in One with a flat finish (available on Amazon.com). This exterior paint will give you the standard finish that you see on most campers.
You should use a standard paintbrush around the edges of your painting surface. This technique will prevent any messy mistakes from bleeding onto areas that you do not want to be painted.
Feel free to use a large roller for painting the majority of your camper. Continue applying coats until you reach your desired coverage.
It is not necessary to apply a sealant all over. However, you should employ a paintable caulk around any corners and windows. Red Devil’s Painter Caulk is a fan favorite, as it can be used inside or outside (available on Amazon.com).
Conclusion
While you will likely be taking your camper to remote locations, you will still want it to look its best. Fortunately, painting your camper is a simple home project that you can tackle yourself.
In summary, it’s important to remember these key tips when painting your camper:
- Make sure you have a smooth, clean surface for painting.
- Apply the paint in even, moderate amounts.
- Be careful when painting around edges and corners.