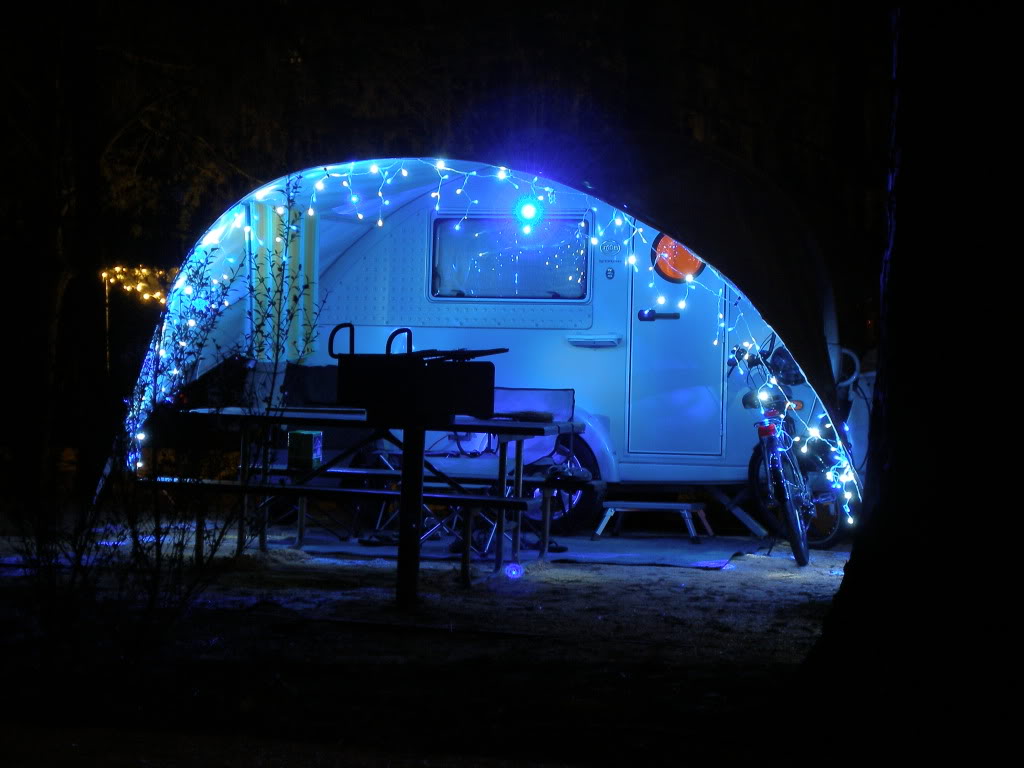
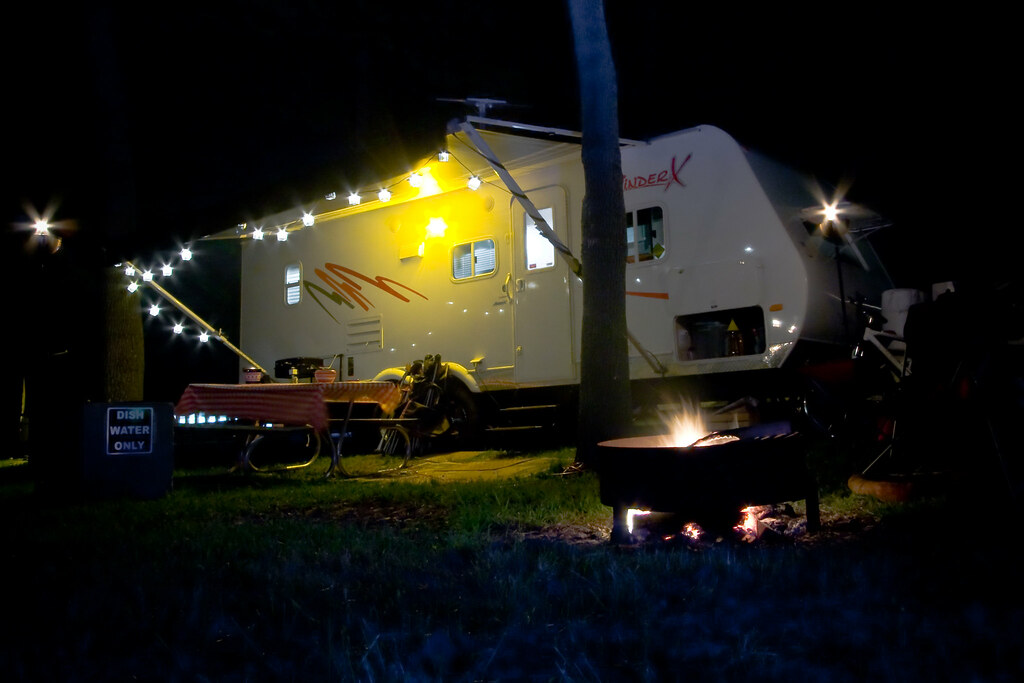
LED lights add a functional flair to your RV and provide you with a great place to spend time with your family after sunset. But finding out that your current RV awning LED lights aren’t working anymore is a frustrating experience.
You’ll need to buy new lights to replace the faulty ones to resolve the problem. In this post, we’ll discuss a step-by-step process to help you understand the correct way to change LED lights on your RV awning.
Changing the Led Lights on an RV Awning: Easy Method
If you’re planning to change the LED lights on your RV awning, use the steps listed below to complete the process effectively.
Related Guide:
Does a Campervan Need an Awning?
Can you use RV awnings in the rain?
How to Clean and Remove Mold from an RV Awning
Step 1: Gather Supplies
Before you start the process, make sure that you gather all the supplies you’ll need, which includes the following.
- New LED lights
- Stepladder
- Rubber gloves
- Putty Knife
- Pliers
- Scissors
- Wire strippers
Step 2: Expose the Wiring
Once you have gathered all the supplies, the next step is to remove the faulty lights. Make sure that you turn off the power to your awning’s LED lights to ensure your safety.
Now, unroll the awning and place the stepladder close to the hardware where the wiring of the LED lights is located. It’s usually on the right side of the awning.
Wear rubber gloves and climb up the ladder. Locate the hardware case and remove it to expose the wiring. You might not need to perform this step if your RV doesn’t have any cover and the wires are already exposed.
Step 3: Remove Faulty LED Lights
Now, you’ll need to pull the wiring out by removing the silicone sealant they have. You can use a putty knife for this purpose. Cut the two wires (leaving two to three inches to work with) attached to the LED lights using pliers.
If your LED lights are attached to the awning with an adhesive or double-sided tape, you’ll need to pull the LED lights downwards. Whereas, if they’re installed in the track, you’ll need to slide them out by pulling them sideways.
Step 4: Cut New LED Lights to Size
After removing the old LED Light strip from the awning, you’ll need to use it to measure the length needed and cut the new strip correctly.
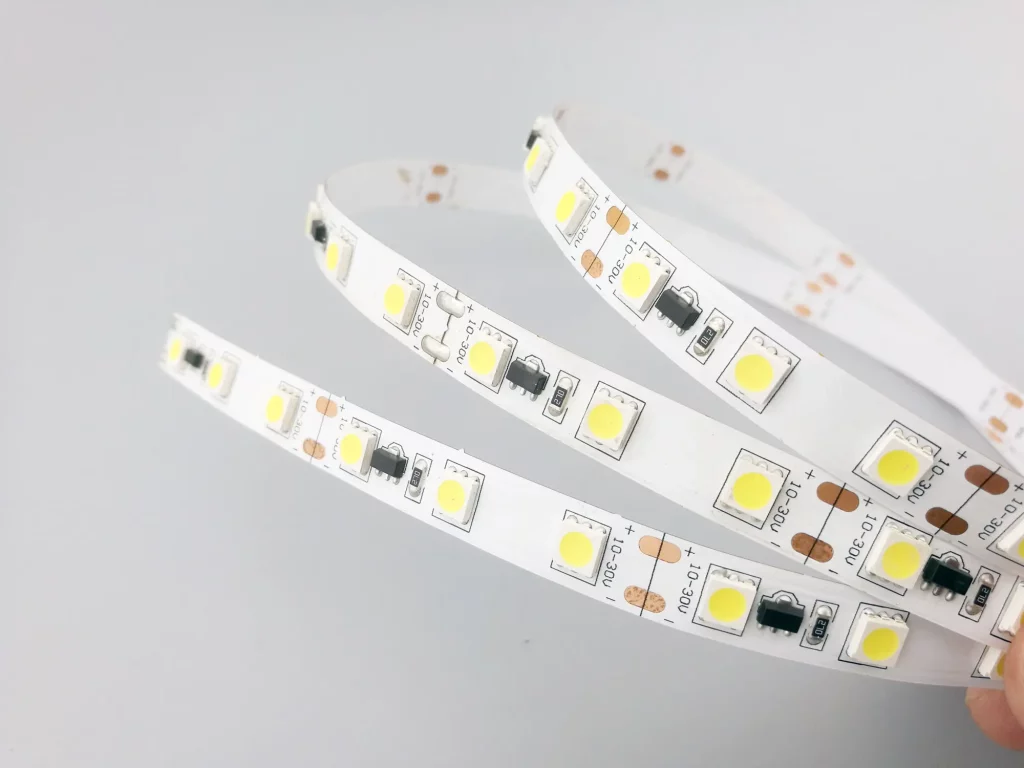
Credits: https://www.derunledlights.com/
Most strips come with a vertical copper line or a single dot to represent the cut line. Take measurements using the old LED strip and use a pair of sharp scissors to cut the new one.
Once you have cut the new strip, test it using a 12- or 9-volt battery. You’ll see two wires coming out of the LED light strip. The red one will be positive and the black (or black and red) will be negative ground.
You’ll need to touch these wires on the battery posts using your hands to test them. If they turn on, you can move to the next step.
Step 5: Install New LED Light
If you have a track for LED lights in your RV awnings, just slide in the strip you prepared. If there are no tracks, you’ll need to use double-sided tape to attach the strip to the awning.
Keep in mind that some LED light strips come with 3M adhesive backings. If your lights have one, you won’t need to use double-sided tape.
credits: https://sites.google.com/site/accentshuttersqi/rv-awning-light-rv-awning
Once the strip is in the track or attached to the awning, use a wire stripper to strip two wires of LED lights about half an inch. Use the same technique to strip the wires that were connected to the old LED lights to power them up.
Connect the positive side of the new LED lights to the positive side of the power wires and do the same for the negative ones.
Next, use insulation tape or bell caps to cover the exposed parts of the wires and tuck them back inside the housing. If you removed the hardware case, install it back in its place, and that’s about it.
Final Words
Changing the LED lights on an RV awning isn’t a difficult process. The only tricky thing in the entire process is to connect the correct wires to each other.
To make it easier, you can take notes while removing the faulty LED lights. It’ll help you orient the wires of the new LED lights the same way the old ones were attached.