Traveling the great outdoors can be a wonderful and life-changing experience if you have suitable transportation. What are you doing: weekend excursions or longer cross-country trips? When you have a van sleeper that also has a kitchen, you can travel anywhere. Cabinets and storage make a van camper into an actual recreational vehicle, set up just the right way.
Some of the best cabinet ideas save you space and look great. Functionality is the key when it comes to the best van kitchen cabinets. Read on to learn more about turning your transportation into a suitable home.
The Best Van Cabinets and Ideas
Doing a DIY Project on your travel van will not go according to plan unless you have a proper strategy. Cabinets in a van need extra care and careful templating, measurements with proper leveling tools and tape measure, and the proper materials. Luckily there are several different options you can choose from when deciding on cabinets for your travel van.
All of the cabinet styles below require planning for materials, space, and functionality. Ensure that no matter what choices you make or the style you decide on, you take the time and visualize the space in your van before making any renovations.
Below is a list of the seven best ways to install cabinets in a van.
Modular Build
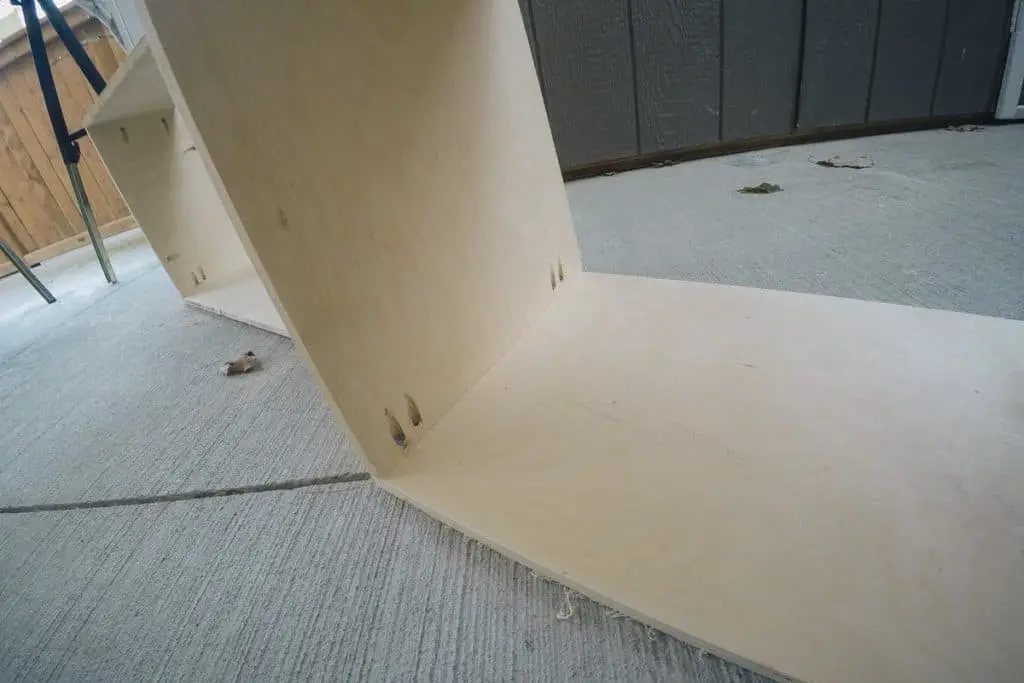
Sometimes creating your cabinet’s construction outside of the van first as a modular design helps with more exact measurements and cutting. Modular build cabinets are also removable. It makes them very functional as storage outside of the van while you are camping.
Modular build cabinets are easier for painting before they go into the vehicle. You could even install countertop material before the cabinets get installed in your van.
The travel van resource Zenvanz has an excellent design for modular-built cabinets that then get installed in the van space. Let’s take a closer look at the upsides and downsides of this cabinet version:
Pros:
- Inexpensive: The option of having modular cabinets built off-site or building them yourself is less expensive than having them installed in your van.
- Professional design: A more professional design for the countertops’ surfaces and the overall frame strength is more effortless when you do a modular build of cabinets. This is especially true for novice builders who create the cabinets in a comfortable workspace and not in the crammed square footage of a camper van.
- Factory produced: The fact that so many companies out there create modular cabinets for vans means a universal installation technique that most companies can help you with. A universal installation technique for factory-produced cabinets is much easier for novice cabinet builders and installers.
- Bent panels: Modular designed cabinets use bamboo planks that are flexible more often. These bamboo planks make the curved walls of your cabinets more directly match the curved walls of your camper van. You may need floating floor glue for these panels.
- Removable: The best part about having modular-built van cabinets is that they are removable. Usually, a few bolts hold the cabinets in place. The cabinets are portable and used in places like the campsite or even in your home.
Cons:
- No creative choices: Modular built cabinets come as-is. You don’t get the choice of materials usually or many other design points like size or functionality.
- One size does not fit all: Sometimes modular-built cabinets won’t fit perfectly into your van, which may waste space or require you to alter them in other ways.
- More expensive: Other people build modular cabinets; therefore, the labor will always be more expensive than the free labor of building them yourself. However, you could save yourself some money by installing them yourself.
Built-In Place
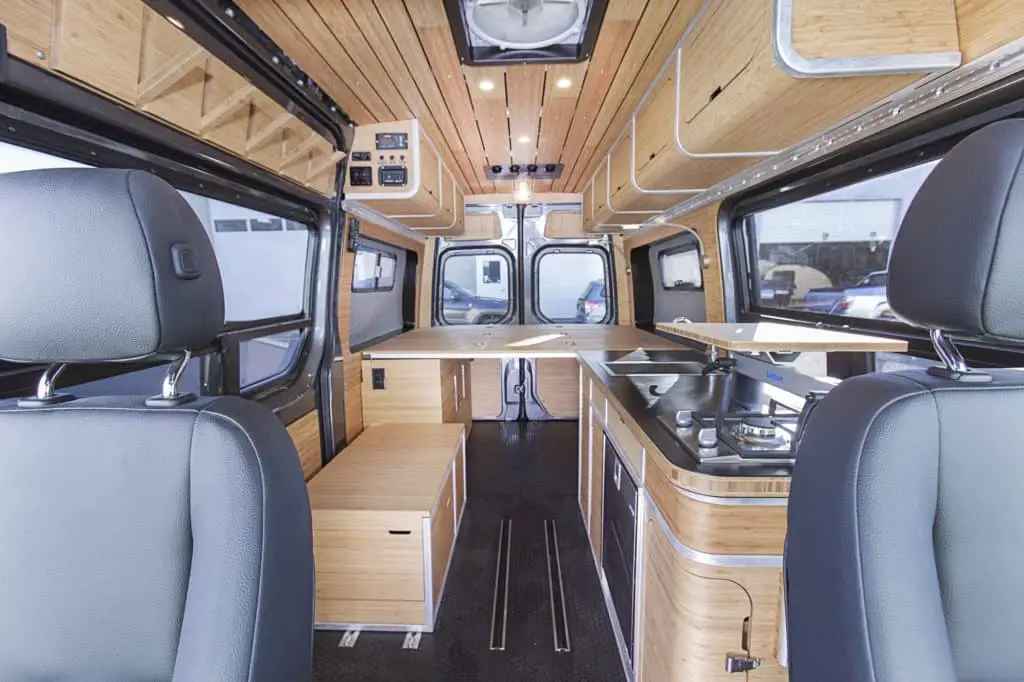
For those looking for that custom fit of cabinets in the curved and small square footage of your campervan, you may want to consider built-in place van cabinets.
Some people want to better use all of the available square footage for kitchen cabinets in their van. Building the cabinets in place in your van is easier for maximizing space.
In an article from The Wonderful, some essential tips and tricks help save time and minimize the number of cuts you need for excellent fitting van cabinets.
Pros:
- Choose your wood: If you decide to build in place, you get to choose the wood that makes up your cabinets. That means you can decide on extra weight-bearing plywood in 3/4 width sheets for load-bearing areas, like the benches or your bed, and lighter materials for more minor weight-bearing areas. You could even choose waterproof material near the sink.
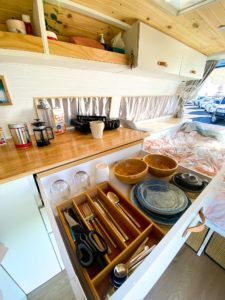
- Customize cabinet sizes: A significant part of built-in cabinets is the ability for customization. There is probably more room on the passenger side than the driver’s side, and there also has to be a sink on one side and seating on the other side. Cabinets usually are made from different-sized boxes of wood with different configurations for drawers and doors.
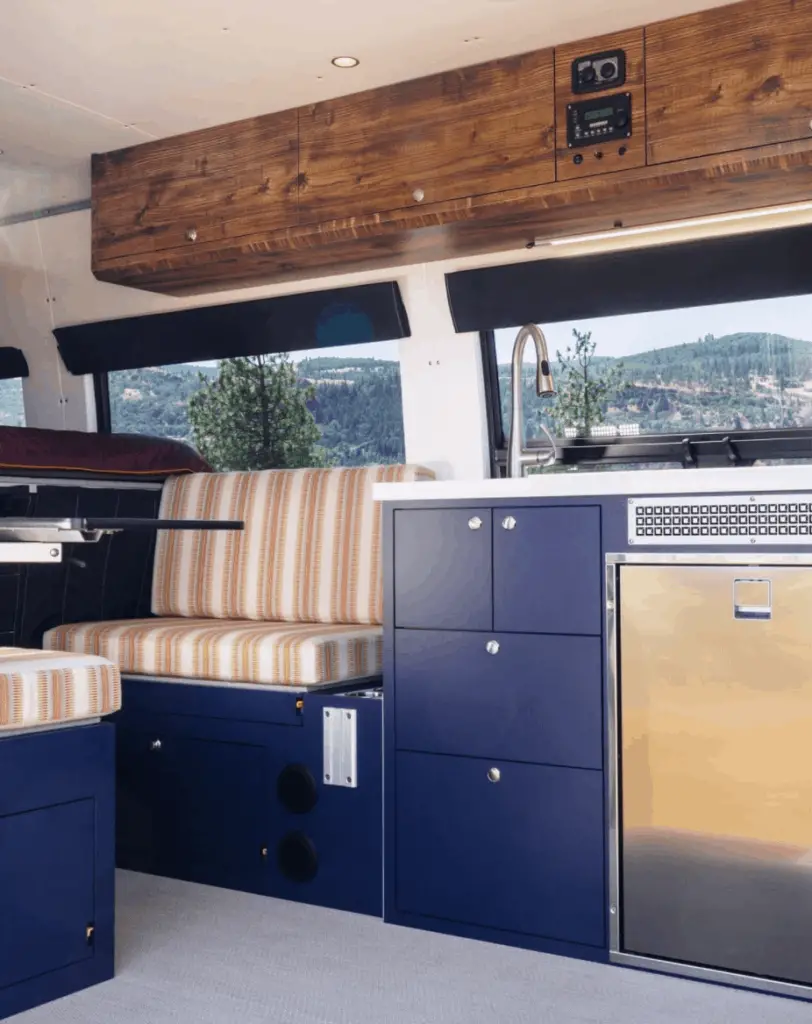
- Get creative: When you build your cabinets, you also get to make your own creative decisions. For example, you could decide on a refrigerator that slides out from a cabinet instead of a fixed refrigerator appliance.
Cons:
- More challenging: Even if you have blueprints, building your customized cabinets is very difficult. It would be best if you were adept at measuring correctly and making quality and precision plywood cuts.
- Need more tools: Built-in cabinets require a DIY build and install; you need more advanced tools than your regular old screwdriver and hammer. These include tools like power saws, drills, and sanders. These tools are pretty popular, and most people have them in the garage. But if you don’t, they can cost upwards of a couple hundred dollars.
Stick Build (Wood Frame)
According to Van Converts‘ well-organized campervan websites, there are two main ways to build cabinets in a van. A traditional method can be more sturdy but more challenging to construct. And the stick build method is lighter weight but easier to install.
It is called the stick-built frame because of the thin sticks used to box out the cabinets’ frame. Cabinets in the home usually get made with 3/4 inch plywood which can weigh up to 70 pounds for a whole sheet. You can’t store heavy items high up in stick-built cabinets. However, they save on wear and tear on your engine in gas mileage due to the lightweight design.
The lumber needed for the frame of stick-built cabinets is 2×2, 3×3, and 2x4s. Once the frame gets built, you need the covering of the cabinets completed, which could be done with 1/8″ plywood on the back and 1/4″ plywood on all surfaces that can be seen. Baltic plywood is the best for strength and weight.
Using sticks of lumber for your cabinets’ frame, instead of whole pieces of thick plywood, cuts down on the weight tremendously. Ensure that your 3x3s and 2x4s get used for the frame’s weight-bearing portions; 2×2 around the top edges.
Pros:
- Lightweight: When you create your cabinets with a stick-built frame, you cut down on a lot of surface area weight from plywood boards and save places for storage containers or storage counters. Lightweight means you save on gas, and you also are easier on your brakes. You could even tow more weight behind you.
- More accessible material to work with: The planks of wood used for stick-built frames in cabinets are lighter and easier to work with than the large plywood sheets.
Cons:
- Less durable: Stick-built cabinet frames get made for lightweight strength and support. However, they are less durable than full plywood sheet frames for cabinets.
- Store less: Because stick-built cabinet frames are less durable than other cabinet frames, you can’t store as much weight in them.
Solid Frame
Another excellent and sturdy way of building van cabinets is with heavy-duty materials made to withstand driving vibrations. These cabinets are usually heavier and may require full wood frames for all drawers and cabinets. However, you will store heavier items higher up in cabinets, and cabinets will probably last longer than other campervan cabinet styles.
Solid frame cabinets are heavy-duty because they have thick wood on all surfaces and get anchored to the floor with 2x4s. Bearfoot Theory has some additional details about this. Their article argues that marine quality plywood is the best both for strength and for waterproofing the material.
The problem with heavy-duty materials is that, while they will last a long time, they also hurt gas mileage and cause extra wear and tear on your campervan. A solid frame campervan cabinet should only be used on medium to large-sized vans.
Pros:
- More durable: Solid plywood sheet frames are much stronger and more durable than stick-built frames. Having any continuous thick piece of wood that holds together your cabinets gives them added support.
- Can be less expensive: Sometimes plywood sheets are less expensive than 2×4 or 3×3 sticks of wood. This is especially true when you buy a lot of plywood at once, which you will probably need for all your cabinets’ surfaces.
Cons:
- Heavier: Sheets of 3/8 inch or 1/4 inch plywood are heavier than stick-framed cabinets. Heavier wood means that you’re putting more wear and tear on your vehicle each time you are braking or accelerating. You are also spending more on gas money since you carry around more weight in your cabinets.
- Harder to work with: Cutting sheets of plywood require more precise templates drawn on pink butcher paper in the van and more cutting square footage. Also, since the sheets of plywood are heavier and larger than sticks of wood, they are more cumbersome and awkward to work with.
Waterproof Cabinets
There’s no telling how rough it may get out there when you are out on the open road. Things in your kitchen or cabinets could spill or splash, soaking your cabinet’s surfaces and possibly ruining them. However, suppose you build the surfaces of your cabinets with a waterproof material or coat with waterproof paints. In that case, they are much stronger overall and withstand stains and waterlogging from occasional spills or moisture.
Also, while living in your van, you may produce moisture if the van is closed up. The wood in average cabinets may absorb some moisture and become damaged. However, suppose your van cabinets get made with moisture-resistant or waterproof materials. In that case, the cabinets will not absorb moisture, will not mildew, and will not mold or become damaged.
According to the van life and outdoor blog Bearfoot Theory, a waterproof cabinet in your van is possible with 13 layers of marine-grade plywood instead of normal pinewood. 13-layer marine grade plywood is reportedly solid and water-resistant, which is excellent for limiting mold and mildew growth on the inner surfaces of your cabinets.
Shrinking and swelling are much more prevalent for wood materials that are not moisture resistant. Therefore, marine-grade plywood is more heavy-duty than other van cabinet construction methods but may have a longer life out on the open road.
Pros:
- No mold or mildew: Waterproof cabinets, especially those built out of marine materials, don’t absorb water and cannot become a breeding ground for mold spores or mildew growth, keeping the inside of your travel van clean and healthy.
- Sturdier and lasts longer: Water damage around sensitive areas like the sink or refrigerator may damage wood and make it irreparable. That means that because of water damage, you now have to replace your cabinets. Waterproof cabinets are sturdier and more last longer in places that are water sensitive.
Cons:
- Materials are expensive: You have a couple of different options when choosing waterproof material for your cabinets; however, they are all expensive. Waterproof plywood is very expensive and also hard to cut. Waterproofing paint or latex surfaces are an added expense on top of the wood for your cabinets.
Floor and Ceiling Supported
Sometimes the space in your travel van doesn’t allow for cabinets to have full support where they need. Floating cabinets get best supported with ceiling or floor beams. There is also hardware that you should buy when setting up ceiling support for your van cabinet.
Abroad Reach, and Travel suggests that floor and ceiling support is crucial for van cabinets. Several methods for floor and ceiling supported cabinets in your van, and all of them used at once, are acceptable. Making your cabinets more heavy-duty anchored to your vehicle’s walls or metal frame with proper anchors is a good idea for all van cabinet styles.
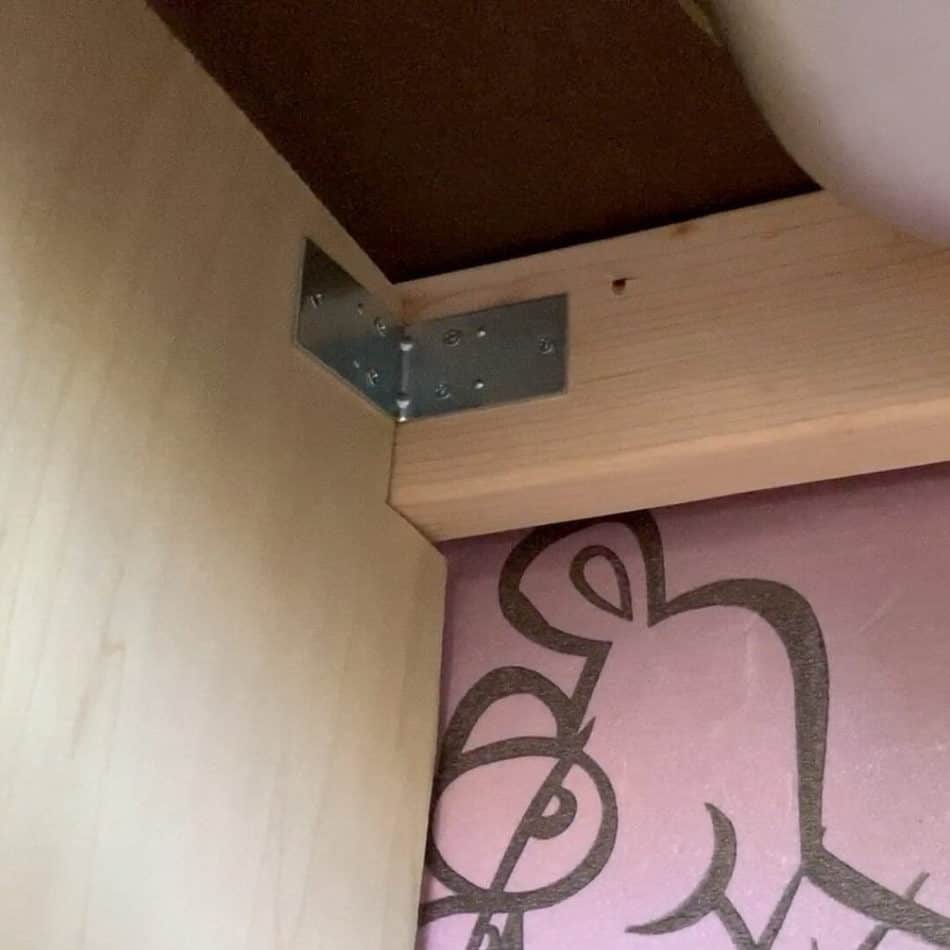
When you make the van cabinets’ walls that much thicker, they are less likely to become detached in an accident or while driving. Large wooden cabinets that come detached while your van is moving could cause dangerous situations, injury, or even death.
For your cabinets to get properly secured, anchored, and supported at the ceiling in floor levels, follow these steps:
- Before you install your cabinets in your van, cut 2x4s with a saw into proper lengths around the cabinet area.
- Screw the 2×4 lengths into the van’s floor so that they are lined up right in front of where the face of the cabinets will be.
- Place drill and screw bolts through the floor for added security. Toilet bolts work great for this. A thru-bolt out the bottom of your floor is crucial for the support system’s integrity and security.
- Screw the base of your cabinet surface onto these through-bolted 2x4s.
Pros:
- Makes your van safer: When you secure your cabinets to the floor or ceiling of your van, it makes traveling safer. Traveling with heavy wood boxes that are screwed together with wood screws can be pretty dangerous if they come apart on a hard stop or rough road.
- Gives your cabinets more strength: Stronger cabinets mean they can hold more weight. When you reinforce your cabinets with metal hooks on the ceiling or 2x4s through the floor, this reinforcement allows a little more weight to get added to the cabinets’ wooden frames.
Cons:
- Bolt holes through the floor: It’s never a great idea to put holes in the walls or ceiling of your vehicle; however, mounting cabinets or other heavy furniture items to the floor is acceptable.
- More material needed: Because you are adding a wooden frame and securing it to the base of the van and the ceiling, you need more material, which can cost a little more money. It also may take away more space in your van.
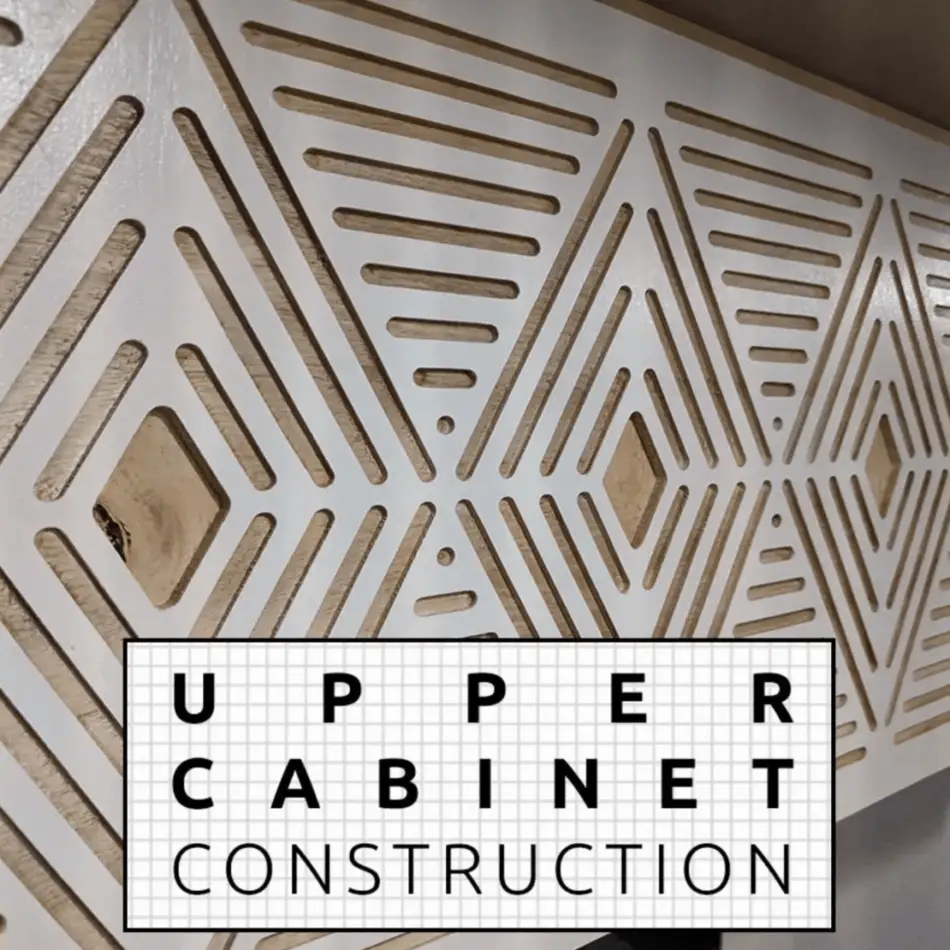
Overhead Cabinets
Sometimes there isn’t enough room on the floor of your van for a complete set of cabinets. Suppose you have many kitchen and storage items but not enough cabinet space on the floor. In that case, you might get more space from an overhead cabinet. According to the van blogging site Far Out Ride, another option is installing overhead cabinets.
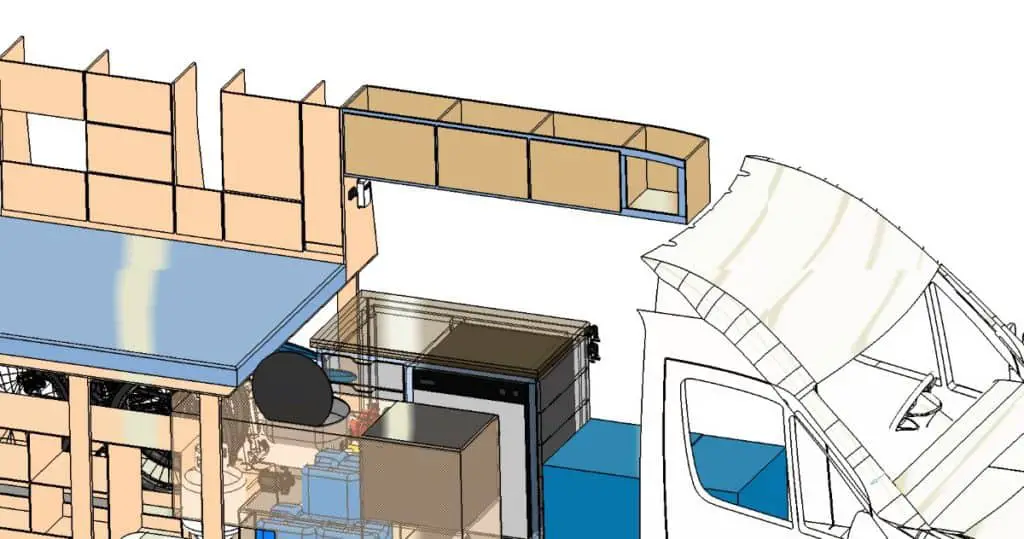
Overhead cabinets get fastened into the ceiling with bolts. They get built light with stick frames instead of solid frames. They also tend to be shorter than traditional cabinets so that people won’t run their heads into them.
Pros:
- Cheap construction
- Save floor space
- Extra storage above existing cabinets
Cons:
- Can be dangerous
- Hard to fasten in place
- Not always enough headroom for installation
How Do I Build A Van Cabinet?
There are some simple ways to build a van cabinet, but some more straightforward methods are also less costly. The fundamental difficulty with building a van cabinet for a small kitchen in your travel van is the rounded and odd shapes the cabinets have to fit into.
You will need a leveler, laser level, and skill saw. Most van cabinets are squared off as close as can be to the wall’s edge inside the cab, so you may also want a contour gauge.
No matter which style of cabinet you choose, remember these are for your van and need to be more lightweight and functional than beautiful. According to The Explorist, having any concepts of how you want your cabinets positioned before deciding on the building style is essential.
Here are some tips for things that you can do before you start building your camper van cabinets:
Lines
Your van cabinets probably inspire you by your aesthetic. You could choose modern straight lines that are simple and elegant. You could also choose a more rustic look with bare wood curved surfaces and other design styles.
Size
Keeping in mind that these cabinets will be in the back of your van, you must consider the size that your cabinets will take up. You don’t want them to take up too much space, but you also want them to be functional to store your pots, pans, dry goods, and other living essentials.
Space
You might have to sacrifice some of your design concepts to make the most of the smaller square footage space in your van. Remember functionality and using up space need to be balanced out.
Measurements
Having exact measurements for your cabinets is essential. It is suggested that you have someone double check your measurements as you design the different cabinet sizes in your campervan. All the lines and pieces need to meet up together and fit snugly to maximize the square footage for your cabinets and living space in the van.
Visual Layout
Creating a visual layout within the van will help make the work go more smoothly. It would be best if you used blue painter’s tape as you measure to outline the frame of your cabinet against the walls of the van. Also, use it on the floors to measure out how far the cabinets will be sticking out. You could use pink butcher paper for this, as mentioned earlier, or tape.
The technique of using tape to outline your cabinets template as a visual layout helps you to understand how much space you will have after the installation is complete. Having a visual layout also cuts down on errors that you may make.
Bottom-Up
As you begin creating the cabinets for your van, it is best for cohesion and measurement accuracy that the cabinets be built from the bottom up. You may construct the cabinet frame and then add on the walls of the cabinets within the van. Or you could construct a modular design and move the entire cabinet into the van after it gets entirely built.
Tips for Van Cabinets
No matter the style of cabinet that you are building in your van, there are some tips and tricks that you should follow. If you take the time to learn these tips for van cabinets, you’ll save time, money, and a lot of stress.
Read on to find out more about the various tips and tricks that get used for van cabinets.
Measuring and Templating
One of the best parts of built-in place van cabinets is that they fit perfectly into the space in your van. Stick-built cabinets and even modular cabinets fit nicely for most models of vans. However, you should make sure that your measurements are exact and use templating on cardboard sheets or paper.
Abroad Reach Travel calls on van enthusiasts to use templating software and tools called CAD. However, suppose you don’t have the capabilities, tools, or financing to get a CAD machine. In that case, you can make a template out of a piece of paper or cardboard.
These are the steps for making a cardboard template for your van cabinets:
- Use a large piece of cardboard that is about the same size as a rectangular piece of your plywood that you are using.
- Use a box cutter knife to cut away excess cardboard until it is flush with the wall of your van’s interior.
- If you want a perfect fit, you should use the scribing method.
- Use the same template on other angles in your van. Keep the template and trim it down for other cabinet angles within the van and against the corners.
- Start with the most prominent piece or corner and then do the smaller ones. You can trim down your template on cardboard each time a little more.
- Tape a piece of wood or paint stick to the bottom of the template cardboard to stay in place.
- Use the template as an outline onto your plywood and use a jigsaw or skill saw to cut your plywood pieces so that they fit the template perfectly.
Materials Planning
When you embark on a cabinet tree build, it is always best that you get more material than you think you need. Some professional cabinet builders on the Forum website Woodweb, advise that they always use the 40% waste rule. This dictates that you should overestimate the material you need by 40% in case there are any mishaps.
You probably don’t have fancy templating material with lasers, and you probably will use a tape measure instead. Minor miscalculations are understandable, so using the 40% waste rule gives yourself much leeway in your measurements.
For example, if you were building a cabinet door that was 2 feet wide by 3 feet tall, that is 6 square feet of the board. However, you should order about an 8 or 9 square foot board for this cabinet door so that you are within the 40% waste rule.
Conclusion
Cabinets inside your travel van are a great idea that is central if you plan to go out on the road for an extended amount of time.
Eating at restaurants or buying food at convenience stores is not only unhealthy, but it is expensive. Cabinets inside of your mini kitchen for your van will help you live healthier and happier out on the road.