Hi-van is supported by its audience. When you purchase through links on my site, I may earn an affiliate commission. Learn more
Unless you have stored your fiberglass RV in a garage or any indoor area, it’s susceptible to damage. That’s because an RV is constantly exposed to different environmental elements that can damage the fiberglass of your RV.
Small holes are one of the most common types of damage that RV owners experience. If your RV is suffering from the same type of damage, you need to repair it as soon as possible. Otherwise, it’ll lead to an expensive and frustrating set of circumstances and they’ll get worse over time.
In this article, I’ll discuss a detailed step-by-step guide that will help you understand how to repair small holes in fiberglass RV. It’ll allow you to deal with the problem effectively and keep the damage from getting worse.
What Is RV Fiberglass and Where Is It Located?
Fiberglass is a fiber-reinforced plastic material that’s made using glass fiber. It’s a durable, lightweight, and heat-resistant material that comes in the form of glass cloth or flat sheet, and it has a shallow stretch.
Fiberglass is used in the manufacturing of a range of different products and items, including RVs. The fiberglass motorhomes come with aluminum or wood frames with fiberglass panels attached to them.
The most common area where this material is used in a fiberglass RV is the roof. However, an RV can also have fiberglass panels on the floor and walls. Commonly, polyester resin or epoxy material is used to attach fiberglass panels to the motorhome.
It’s important to note that many modern fiberglass RVs have only two major parts, which include a lower and upper half. It means that there’s only a single seam that connects these two parts, giving an RV a more solid structure.
First, the lower and upper halves of the RV are formed in molds and the fiberglass sheets are laid out. After that, the resin is applied to them. Once the fiberglass sheets have cured, they’re removed from the molds and joined together.
How to Repair Small Holes or Cracks in Fiberglass RV?
Nowadays, many RVs that you find on the road are made of FRP (Fiber Reinforced Plastic) or fiberglass. The main reason why most manufacturers use this material to build RVs is that it weighs less than other materials and offers the same (if not more) durability and reliability.
If you’re a fiberglass motorhome owner, you must understand how to maintain and take care of the vehicle properly. It’ll allow you to fix small problems along the way and prevent them from leading to expensive or irreparable damage.
If you find that your fiberglass RV has a small hole(s) in the roof or any other place, you’ll have the following two options to repair it.
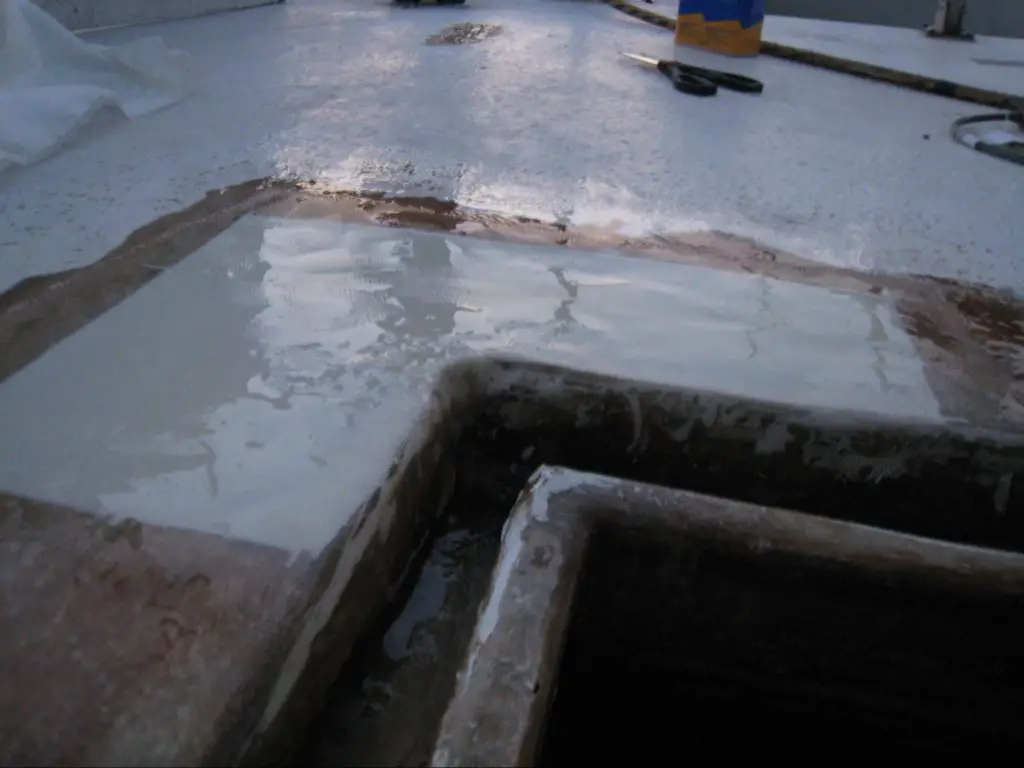
Repair of Small Holes in Fiberglass RV Roof
If you have a very small hole in your fiberglass RV, you can use caulking or repair putty to seal it. I recommend you go with a fiberglass-based auto repair putty that will fix the problem effectively.
You’ll just need to fill the hole using a putty knife and let it dry and cure. After that, you can use black sandpaper with a high-grit rating to smooth out the repaired surface.
Apply painter’s or masking tape around the damaged spot to ensure that you don’t accidentally rub the surface that you don’t want to repair.
You can also find high gloss spray paint available in the market to give the repaired area a shiny look, similar to the rest of the RV’s body.
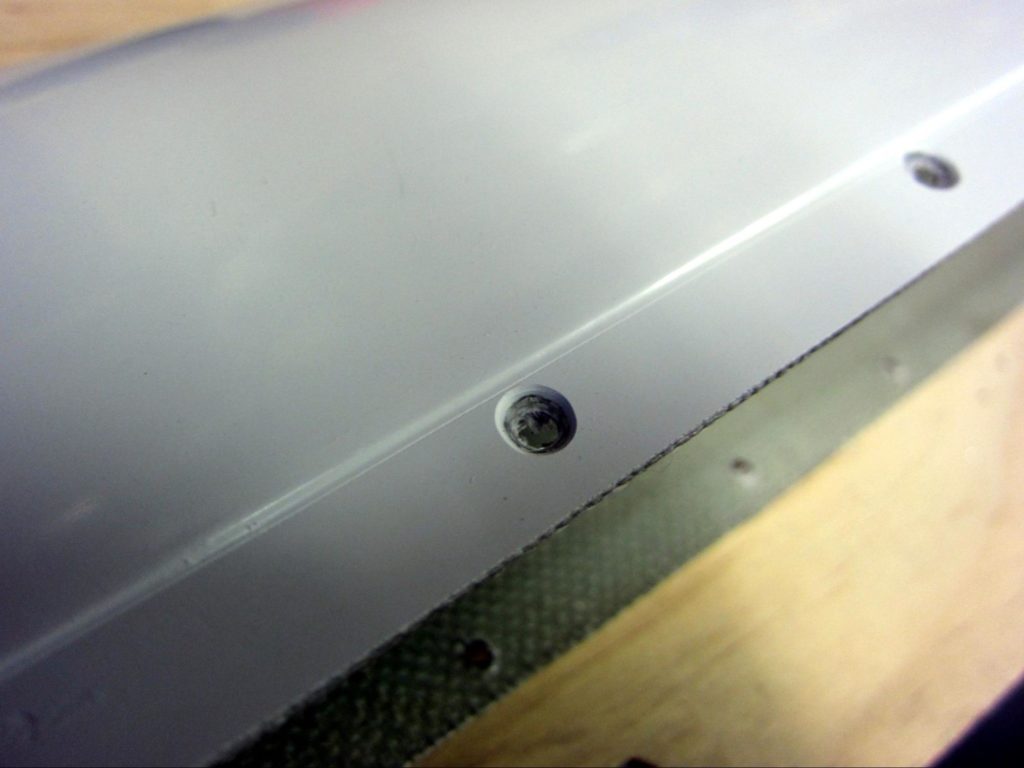
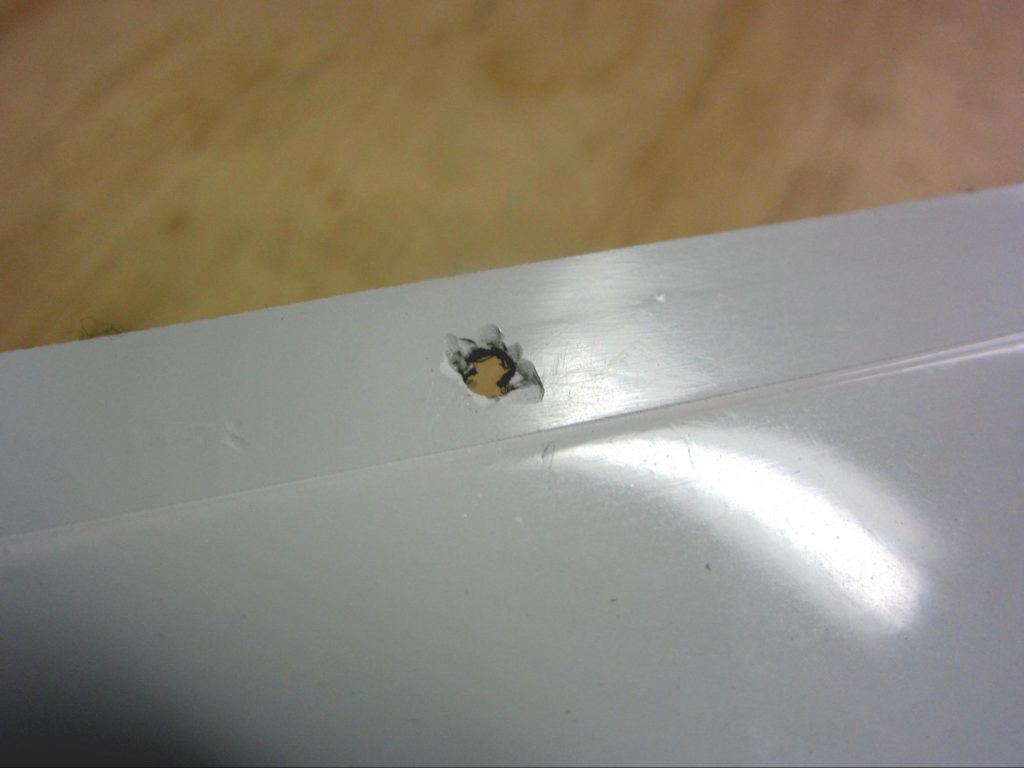
Patching Screw Holes in Fiberglass RV
If you have a screw hole(s) in your fiberglass RV, you can also use fiberglass cloth or mesh to patch it easily. First, you’ll need to apply resin putty on the affected area and place a fiberglass cloth piece on it. Then, you’ll need to apply a couple of layers of the same resin putty using a putty knife on top of the patch.
Next, let the resin putty dry and cure and use high-grit sandpaper to smooth out the surface. The last step of this method is also the same, which is about giving the repaired surface a shiny look. You can use paint for this purpose.
General Process to Repair Fiberglass Holes
Here’s a list of steps that explain the general process of repairing fiberglass holes. You can use these steps to repair holes in your fiberglass RV or any other fiberglass surface.
Related Guide:
Guide: How to repair screw holes in RV wall
How Much Do Repairs Cost During Van Life?
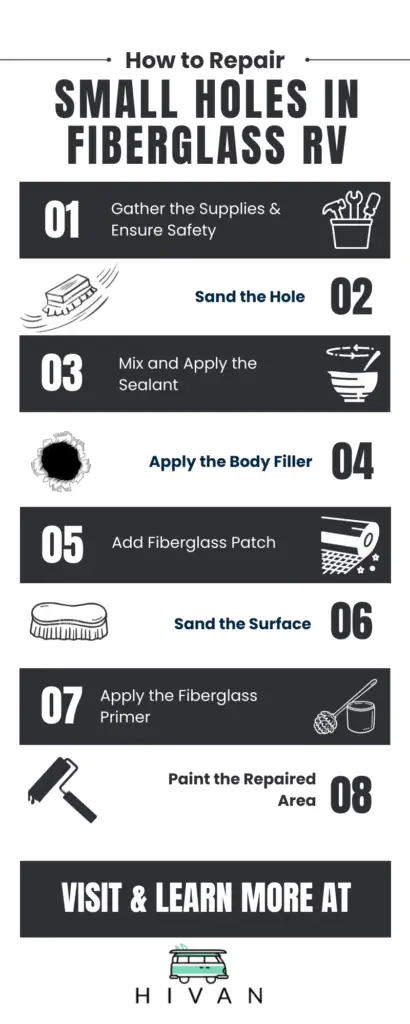
Step 1: Gather the Supplies
Before you prepare the affected surface to start the repairing process, make sure that you have all the supplies you’ll need. Here’s a list of all the materials and tools required for this project.
- Leather gloves
- Face mask
- Safety goggles
- Fiberglass resin
- Fiberglass cleaner
- Masking or painter’s tape
- Mixing stick
- Liquid hardener
- Putty knife
- Fiberglass mesh or cloth patch(es)
- High-grit sandpaper
- Fiberglass body filler
- Fiberglass primer (optional)
- Paint
Step 2: Ensure Safety
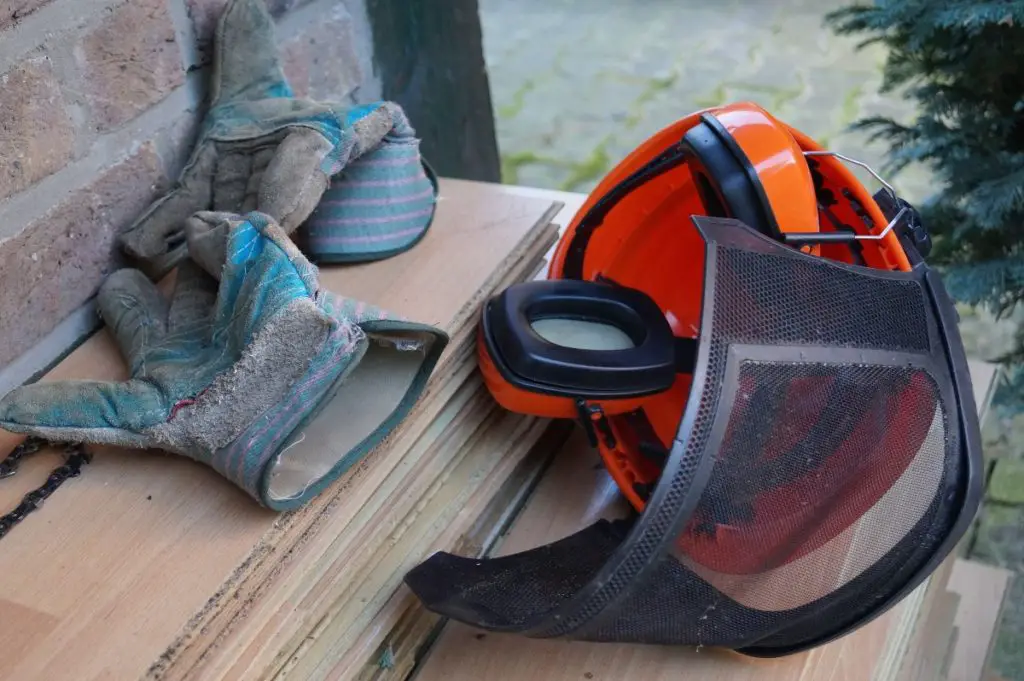
Once you have all the supplies listed above, the next step is to ensure your personal safety. Keep in mind that it’s critically important to ensure your safety whenever you need to deal with fiberglass material.
That’s because the small particles of fiberglass can hurt your hands, eyes, and throat (through breathing). According to the Illinois Department of Public Health, you should follow the safety tips listed below to protect yourself while dealing with fiberglass.
- Wear a high-quality face mask that covers your mouth and nose so that you don’t breathe in the fiberglass particles.
- Wear leather gloves and long-sleeved and loose-fitting clothing to protect your skin.
- Wear safety glasses (with side shields) or goggles to protect your eyes.
Once you’re done, use a vacuum cleaner to collect the fiberglass particles from the ground. It’s also important to wash your hands and flush your eyes with water. Additionally, you’ll also need to remove your clothes and wash them separately from other clothing to make them safe for wearing.
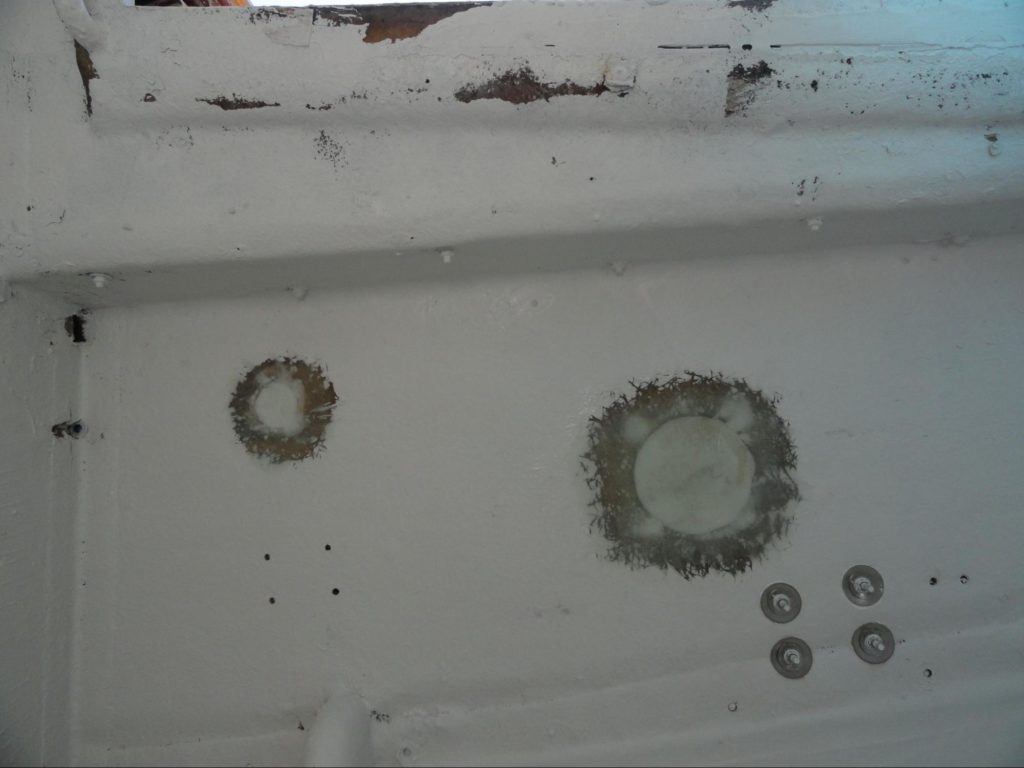
Step 3: Sand the Hole
Once you’re ready, grab painter’s or masking tape and place it around the hole. Next, pick up the sandpaper and start sanding the affected area. Carry out this process gently as you don’t want to overdo the sanding work and end up with more damage.
Sanding is required because it cleans the damaged surface and gives it a coarser finish so that your sealant can adhere to it effectively. If you skip this step, the resin and fiberglass patch will not stick to the surface properly.
As a result, it’ll come off the surface sooner or later and you’ll need to perform the entire repair job again. Once you have sanded the surface, clean it out using a commercial fiberglass cleaner. You can also use acetone for the same purpose.
Step 4: Mix and Apply the Sealant
Now, you’ll need to mix fiberglass resin and a liquid hardener using a mixing stick. You can skip the liquid hardener if you want but using it will allow the resin to stick to the surface and cure better. Additionally, it’s also important to use a resin that’s specially designed for fiberglass.
Once the sealant is ready, use a putty knife to apply it to the damaged area. Make sure that you apply a thin layer inside the hole that you need to repair.
Step 5: Apply the Body Filler
If you’re dealing with a big hole, you’ll also want to apply body filler to restore the insulation of the fiberglass surface.
Apply the body filler using the same putty knife on top of the resin layer you added in the previous step. You want to add only a little amount of body filler so that it doesn’t make a bump on the surface.
Just like the resin, use body filler that’s designed to insulate fiberglass and apply it in an even layer.
Important Note:
You can skip this step if you need to repair only a small crack that hasn’t compromised the insulation of the fiberglass. But for holes, it’s important to use this step to achieve the best results.
Step 5: Add Fiberglass Patch
After applying the body filler, you’ll need to wait for about 30 minutes to let it dry. Then, you’ll need to apply a thin layer of fiberglass resin on top of it. However, if you’re not applying the body filler, you won’t need to wait.
Next, cut the fiberglass mesh or cloth and create a small patch, a bit larger than the hole, and dip it inside the resin. Then, place it on top of the fresh resin you applied.
Once you have covered the hole with a fiberglass patch, apply another even layer of resin using a putty knife to fill the patch fully to make sure it sticks to the surface.
The wet resin will take some time to dry. Read the user manual of the resin you’re using, to find the correct drying time, and wait until it’s fully dry.
Step 6: Sand the Surface
Once the fiberglass resin, along with the patch has dried thoroughly, grab the sandpaper to sand the surface again. Not only will sanding make the repaired area flat and smooth but it’ll also allow the paint to adhere to the surface effectively.
After, clean the surface using the fiberglass cleaner to get rid of small particles generated during the sanding process.
Step 7: Apply the Fiberglass Primer
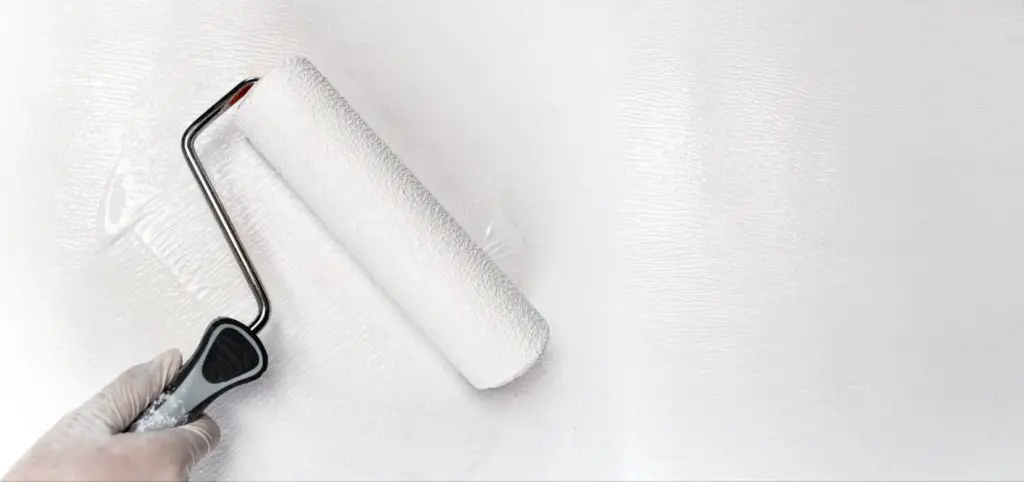
You can use a paint brush or roller to evenly apply the fiberglass primer to the repaired area. You can apply more than one layer of the primer to ensure that there is a good bond between the fiberglass surface and the paint.
Keep in mind that applying primer isn’t necessary but it brings several benefits to the table, such as allowing the paint to create a stronger bond, protecting the repaired area from moisture and further damage, and increasing the longevity of the paint and the repair job.
Step 8: Paint the Repaired Area
After completing all the steps listed above, the last thing that you’ll need to do is to apply a layer of paint. It’ll allow you to make the repaired surface look as good as it was before it got damaged.
It’s vital to choose a paint that has the same shade and color used to paint the fiberglass surface in the first place. Otherwise, it’ll not look good. You can use a paint brush or roller to apply an even layer of paint.
What to Know Before Performing the Repair Job?
Before you start the process to repair your RV fiberglass or any other surface made of the same material, make sure that you inspect the damage carefully. You’ll need to determine whether you can repair it yourself or if it needs professional attention. If the damage is bigger than just a hole or crack, consider hiring a professional.
If your RV is still under warranty, then I recommend you contact the manufacturer to get your vehicle repaired. Additionally, if you have insurance coverage for your vehicle, you can contact the company to find out whether or not they’ll cover the cost.
You can also contact a professional repair company to get a quote. If they’re costing you less or even equal to what you’ll need to invest to carry out the DIY project, consider going with the professional service. It’ll help you save time and energy and get the problem fixed in less time.
Final Words
Just like any other material, fiberglass RV can get damaged with time as it’s constantly exposed to environmental elements.
If you have a hole(s) in your RV’s fiberglass panels, you can repair it using a water-resistant sealant paired with fiberglass cloth.
After that, you can apply fiberglass primer and paint to give the repaired area a glossy and neat finish.