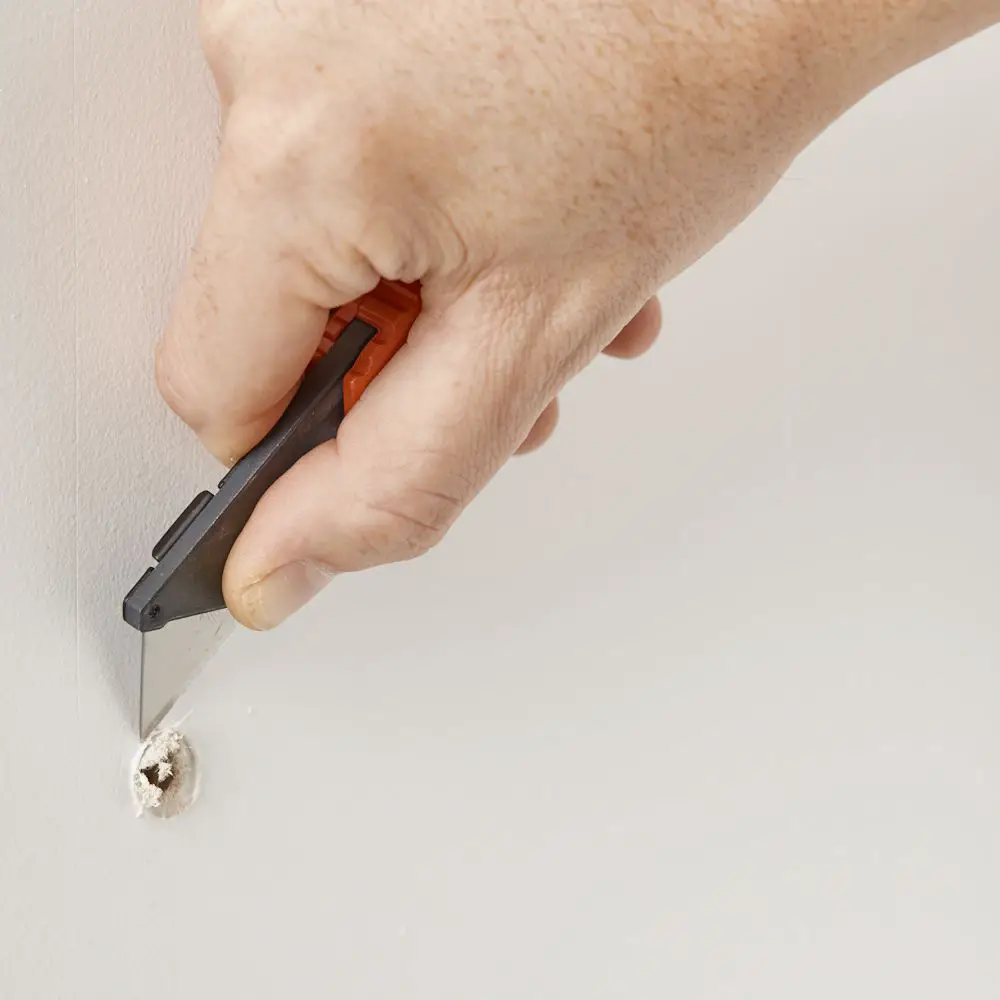
Screw holes in an RV wall aren’t the nicest thing to look at. That said, they’re also practically unavoidable if you’re going to be spending any real amount of time in your RV or if you’re building your own van. One of the most vital skills you’ll need to pick up is learning how to deal with and fix these screw holes to keep your RV looking neat and tidy.
If you need to repair screw holes in your RV, try out these 3 methods:
- Use sealant tape for quick and easy repairs.
- Mold epoxy putty according to the size and shape of the holes.
- Use caulking and a proper caulking gun to repair holes.
In this article, I’ll be going over each of these tips to help you repair those unused screw holes that are crowding on your RV walls. I’ll give a detailed summary of the pros of each method, and I’ll point you in the direction of some Amazon links to get you started on repairing your RV’s walls like a pro.
1. Use Sealant Tape for Quick and Easy Repairs

Sealant tape can work great to cover up screw holes. It’s not the prettiest solution, but it’s great to have around in a pinch.
If you’re the type to constantly create screw holes only to fix them a little bit later, you may want to invest in a roll of high-quality sealant tape. It’s incredibly simple to use, as all you have to do is cut a piece of tape that can fit over the hole and stick it on there.
Not only is this great for quickly getting old and unused screw holes out of sight, but it’s also great for repairing other cracks and leaks both on and off your RV. It’s easy to store, too, so you can keep it in your RV storage area and bring it out when the situation calls for it.
Sealant Tape Is a Temporary Solution
If you’re only looking for a temporary solution to the holes in your RV, this might be a good option for you. But, you’re still faced with needing to fill those holes later.
Having a bunch of pieces of tape sticking onto the walls of your RV can look a little…awkward, to say the least. Plus, you’re not really filling in the holes, but instead, just getting them out of sight.
Still, the ease and portability of seal tape make it a great temporary solution to any unfilled screw hole.
If you want a quick solution to both old screw holes and other problems around your RV while you’re out and about, consider buying this Dicor Butyl Seal Tape available on Amazon.com. You can install it quickly, without gaps, so you can get on your way sooner.
2. Mold Epoxy Putty According to the Size and Shape of the Holes

If you’ve got holes of various shapes and sizes, you might want to consider grabbing some epoxy putty.
As this Sylmasta article points out, epoxy putty has two main parts:
- A sticky resin
- A hardener that will cause the material to firm up over time.
Some epoxy putty brands will sell you both of these components, while others will sell you putty sticks that already have both combined.
Before using the putty, you’ll want to roughen up the edges of where you’ll be placing it.
This can be a somewhat hard task with small screw holes, but using a small piece of sandpaper around the edges of the screw hole will help the putty keep in place.
Using the putty itself is rather easy. If you’re using a brand that gives you the separated hardener and resin, you’ll want to follow the proper instructions for that brand to create the putty.
Once you’ve done that (or you’ve decided on using a putty stick), tear off a piece of putty the size of the hole and place it into the screw hole.
Allow it to dry for a suitable amount of time before doing anything else to the wall.
I recommend getting an epoxy putty stick for anybody just starting out with using the material, which is much easier to use and buy in smaller quantities. You can check out this Gorilla All-Purpose Epoxy Putty Stick available on Amazon.com. It’s waterproof and can be fully set in 10 minutes.
3. Use Caulking and a Proper Caulking Gun To Repair Holes

If you need to fill a large amount of old unused screw holes, the best option will likely be to buy a high-quality caulk and use a caulking gun.
Using a caulking gun will let you have a lot of control over exactly how you’re filling in each screw hole. If you’re filling up holes in harder-to-reach areas or on vertical walls, being able to get a good grip on your caulk gun can really help repair screw holes in a way that’s both functional and aesthetically pleasing.
This allows you to not have overfilled holes that leave ugly bumps on the wall.
If you’re the type to really worry about how your walls will look after repairing each hole, you can try to color match the caulk you buy to your RV or paint on it after it has dried.
Find this content useful 🙂 ?
Subscribe to our Newsletter and get a free Solar Electric Diagram + shopping list.

According to this Home Depot article, you’ll want to properly load the caulk into the caulk gun, cut the tip of the caulk packaging, keeping in mind the size of the hole you’ll want to fill, and apply the caulk to the hole.
Smooth the caulk down with a flat surface or your finger and then wait for it to dry.
If you want to fix your screw holes with caulk, you can buy this set of Ziollo RV Flex Repair Sealant available on Amazon.com, and it comes with a lifetime guarantee.
Final Thoughts
Depending on your needs and wants, there are plenty of ways to repair screw holes in RV walls.
Whether it’s with seal tape or something more permanent like epoxy putty or caulking, filling in holes in your RV’s walls will help it look more presentable. I recommend trying out all of these different methods and seeing which one works best for you.
Have you tried any of these three options? Do you have another way to deal with screw holes in your RV walls? I’d love to hear from you!