Hi-van is supported by its audience. When you purchase using our links, we may earn an affiliate commission (no added cost to you). Learn more
Insulated window covers do more than help regulate the temperature in your van: They guarantee privacy and contribute to your van’s aesthetics. Unfortunately, insulated window covers aren’t cheap. You can save money by learning how to make your own.
Here’s how to make insulated window covers for your van:
- Create templates using window measurements.
- Cut the Reflectix and fabric.
- Attach the fabric to the Reflex.
- Design pockets for magnets.
- Fit the window covers to your window.
This project will save you money and is really fun to undertake, and all you need is fabric for the inside and outside, Reflectix, a sewing machine (or duct tape), and magnets. An extra set of hands will also come in handy! Let’s take a deeper dive into the above steps.
A full Youtube video is at the end of this article to show you everything step by step.
1. Create Templates Using Window Measurements
Creating templates is perhaps the most crucial step in this project. I advise that you create templates to avoid wastage of material when cutting straight from the window.
You can use any cuttable and flexible material to create templates:
- Cardboard
- Matte boards
- Newspapers
- Butcher paper
This step can be time-consuming and tiresome, especially if you don’t have help. Get someone to help you hold up the template as you trace around the window.
Unless you have impeccable drawing skills, don’t cut the template according to your tracing line. Add an extra inch (2.54 cm) or so over the tracing line to factor in any errors.
It’s easier and more effective to cut a template into shape than to start the process again.
After you’ve cut the slightly larger template, go back to the window, and confirm that you have the right tracing line. Keep cutting until the template fits snug on your window.
The number of templates you cut depends on how many windows you want to insulate. I reiterate that this step can be cumbersome and tempting to skip, but you risk wasting resources by failing to start at the templates stage.
2. Cut the Reflectix and Fabric
Reflectix is the magic material that helps keep heat inside your van, keeping you warm through the night. You need to get enough for all the windows in your car; therefore, the more windows you have, the more you have to spend on Reflectix.
Thankfully, Reflectix Double Pack Insulation (available on Amazon.com) is made of a tough layer of polyethylene for strength, isn’t expensive, and will cost you way less than buying pre-made insulated window covers.
You need fabric for the inside and outside of your insulated window cover. The outer material should be black, and the inside fabric should match or complement the inside of your van.
I recommend something colorful to add radiance to your van.
You can also use ripstop as the outer material of your window cover. The main advantage of ripstop is that it’s more resistant to tear.
Use the templates to cut the Reflectix and fabric. Again, cut pieces larger than the templates.
You’d rather cut the Reflectix into shape instead of cutting a piece that’s too small.
Cut pieces for each window before proceeding to the next step. This will alert you if you need more fabric or Reflectix.
3. Attach the Fabric to the Reflex
If it’s been too long since you last tested your sewing skills, it’s time to bust out your sewing machine, as it’s crucial for this step.
Before you get to sewing, however, use spray glue to attach the fabric to the Reflectix. For the best results, iron the fabric before you stick it to the Reflectix.
Spray the glue onto the Reflectix, wait for it to get tacky, and attach.
Proceed to sew the fabric edges onto the Reflectix. Don’t worry about making an error, as the larger pieces you cut in step two give you an allowance to remedy any mistake.
If you used ripstop for your outside face, you need to make panels to ensure that the window cover folds. To do so, follow the steps below:
- Sew three sides of the ripstop and fabric together, leaving one side open.
- Then, sew horizontal lines across to make panels. Once you create the panels, cut the Reflectix to size, and slide each piece into the panel.
- Complete this step by closing the fourth side of the insulation cover.
- If you have no interest in an outside cover but want to have black on the outside, you can spray paint one side of the Reflectix. It isn’t the most sophisticated way to do it, but it works and is very cheap.
Worry not if you have poor sewing skills: Duct tape will work just fine. To make it look nice, use long pieces on straight sides and short pieces where the insulation curves.
4. Design Pockets for Magnets
This step wouldn’t apply if you placed your magnets at the sewing stage. You might prefer to attach the magnets inside the insulation before sealing it.
You can opt for this option, as in step two, to cut bigger pieces than the templates. Doing so gives you plenty of flexibility moving forward.
If you want your magnets outside the insulation, you need to create pockets for them.
You can create pockets using duct tape or fabric. The essential thing is to ensure that the magnet remains in place.
I recommend that you use duct tape for this step. Sewing the magnet in place requires hand stitching: The magnet will keep sticking to your sewing machine if you try using a machine.
Sew the pockets onto the insulation after you create them. Space the magnets to ensure that the window insulation looks good on your window.
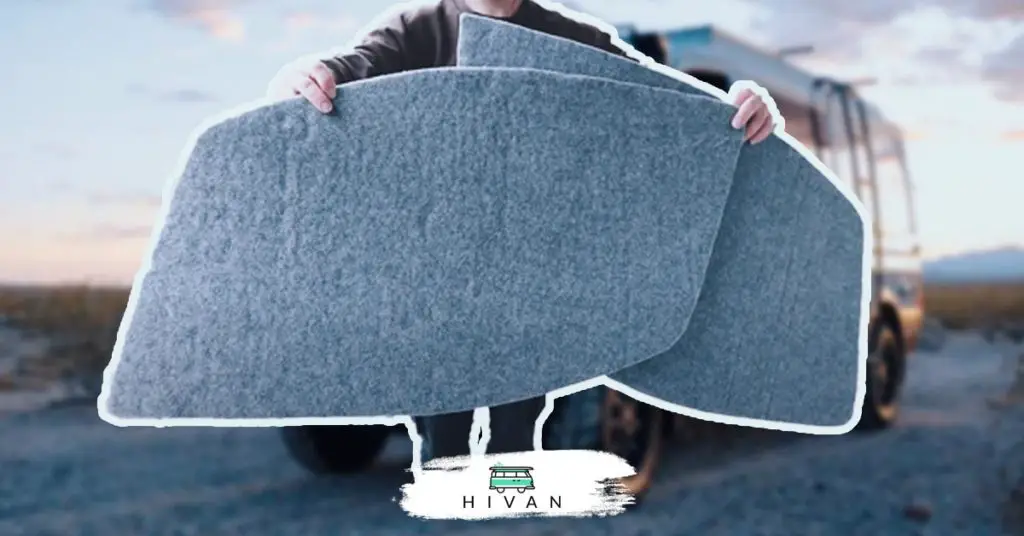
5. Fit the Window Covers to Your Window
With your panels complete, it’s time to admire your work. The magnets should hold the insulation in place.
If you’ve no time for magnets, you can use suction cups to hang the insulators. You’ll need to attach loops to the insulation to hook onto the cups.
Some panels fit snugly on the window without magnets. However, you might need adhesive squares to ensure that they remain attached.
Final Take
Remember that your work doesn’t have to be perfect. As long as the panels provide insulation and cover the windows, you’ll be alright.