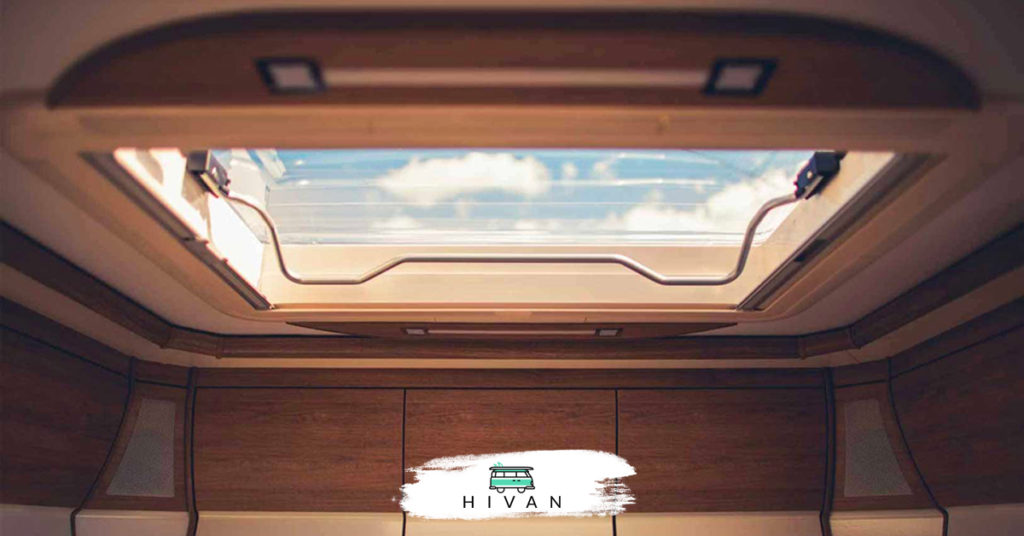
If you’re struggling with a lack of natural lighting in parts of your RV, you may be considering adding a skylight. Especially in a part of your RV without windows, a skylight can be an amazing natural light solution and serve as a great way to enjoy the night sky. It’s even possible to install an RV skylight on your own by following a few simple steps. If you bought a normal van like Mercedes Sprinter and you’re converting it into an RV, check out my resource page about van build here.

Here’s how to add a skylight to your RV:
- Check your RV’s framing detail.
- Mark the location of the hole.
- Cut out the hole.
- Install the skylight.
- Seal the seam of the skylight completely.
In the rest of this article, we will follow these steps and learn how to install a skylight in your RV. We will see how you can determine the right location and provide a step-by-step guide on cutting the hole and installing the skylight itself.
1. Check Your RV’s Framing Detail
To install a skylight, you will need to cut a hole in the roof of your RV. Because of the metal framing that gives the RV its structure, you won’t be able to cut the hole just anywhere. I made an article about finding the studs in your RV walls that can help you in this process.
The first thing you will want to do is check the framing detail, which is like a blueprint for your RV that will show you where the metal frames are located. Once you know where the metal frames are, you will know your options for placing the skylight. You can contact the company that manufactured your RV and request this document or, depending on the make and model of your RV, you may even be able to find it online.
2. Mark the Location of the Hole
After using the document to locate a place where you can put a skylight without interfering with the RV’s structural components, you will want to transfer that knowledge to your RV’s ceiling. To make sure you are accurate, you can use a strong magnet to help you identify the metal frames in your RV. Your magnet will be attracted to these areas, sticking when it hovers above a metal frame.
Then, while carefully sitting on top of your RV’s roof, use the magnet along with the framing detail to locate where you will cut your skylight hole. Using the dimensions of the skylight you are looking to install, lightly mark the roof with the lines you need to cut. You can use a straight edge to ensure accuracy. Double-check everything as proper planning will make for a smoother execution when it comes time to cut.
For more information on following a framing detail and locating the best place in your RV for a skylight installation, you can check out the video at the link below:
3. Cut Out the Hole
There are multiple ways to cut the hole for the skylight, but we have found the following way to be most effective.
To cut the hole, follow these steps:
- Drill a hole into each of the corners. These holes will help guide you as you make the bigger, longer cuts. Aim for a hole about an inch and a half (4 cm) deep in each of the four spots.
- Cut the hole. Using a saber saw, slowly move the blade along the line you have drawn until the entire hole has been cut.
- Remove the top layer and any foam from underneath. This will likely reveal another layer to cut through.
- Drill into each of the four corners once again. These holes will outline the shape for you to continue the cutting inside your RV.
- Repeat the cutting process inside your RV. Use a straightedge to draw a line connecting the four drilled holes to mark your skylight’s shape. Then begin cutting. By the end of the cutting process, you will have created the spot for your skylight.
For a more detailed look at how to effectively cut the hole in your RV’s roof, you can follow this Youtube tutorial:
Find this content useful 🙂 ?
Subscribe to our Newsletter and get a free Solar Electric Diagram + shopping list.
4. Install the Skylight
Your skylight installation will vary slightly depending on the model you have chosen. However, you can follow these general installation guidelines to help you install and seal your skylight effectively.
- Insert the pieces of the skylight through the cut hole.
- In each of the corners, drill a hole where you can insert and secure the screws.
- Continue all the way around the skyline.
- Insert and fasten the screws in each of the designated holes.
Once you feel the skylight has been properly fitted and installed, you are ready to move onto the final step.
5. Seal the Seam of the Skylight Completely
Now, it’s time to completely seal off the skylight to avoid any water leakage. You will need three things to complete this task: EternaClean Preparation Spray, EternaBond RoofSeal Tape, and Dicor Lap Sealant, available on Amazon.com. With these materials, you will be able to create an accurate and long-lasting seal.
To seal your skylight, follow these steps:
- Apply the EternaClean Spray around the skylight’s base and surrounding roof area. This will prepare the area for the tape.
- Apply strips of the EternaBond RoofSeal Tape. You’ll want to place a strip along each of the skylight’s four sides.
- Apply pressure and seal completely using a large socket to roll over the tape. Be sure to move aside any air bubbles to provide a complete and total seal.
- Use Dicor’s self-leveling Lap Sealant to put the final touches on your sealing process. Apply this sealant around the perimeter of the tape. This sealant should go around the outer perimeter, the inner perimeter, and along any edges formed from smaller pieces of tape.
- Allow the sealant to dry completely.
Final Thoughts
If you’re looking to improve your existing RV, adding a skylight can be the perfect addition, because a skylight is the perfect way to bring more natural light into your RV and it allows the perfect way to see the stars.
With some careful measuring, a few simple power tools, and sealing equipment, you can easily install your very own skylight in your RV. Simply follow these steps to get started with your own DIY installation today.

